I will never forget the first time I heard the phrase “Proficiency in performance, and performance on demand.” I originally heard this several years ago in a high-level federal instructor course, and I have to leave the specific instructor’s name out of the article due to their current position within their respective entity.
Needless to say, it’s something that stuck with me. The reason it stuck with me is because it was repeated over and over during some of the most difficult courses of fire I had encountered in an instructor certification. This was no regular course to get a basic certification. I watched members of different SRT, SWAT and other tactical teams “no-go” the class and get sent home. Since I was there as an agency representative, I had to perform or get washed out.
This class included everything you can think of. Pistol, rifle, movement, use of cover and transitions from rifle to pistol on the move. Only one portion was static and consisted of a 25 yard B8 target in which a minimum of nine rounds in total needed to be in the nine ring from 25 and 15 yards out of a total 20-round course of fire. Also, all scores needed to be at 90% or higher. Luckily for me, I was able to conduct a train up for this course since I was attending as a guest.
Today, we are going to discuss three drills that helped me give that on demand performance and get through that class.
Bring the Competition!
Something else we should probably discuss is the merging in recent years of tactics and competitive shooting techniques. I know someone is already rolling their eyeballs, but stick with me here.
While they do not always align perfectly, I don’t think anyone can deny that taking the skills and speed of competitive shooters and then implementing good tactics behind that speed is a good thing. There is a reason Tier 1 units in the military bring in grand master level competitors to teach speed and proficiency behind the gun.
If you watch high-level competitive grand masters, they move almost effortlessly across the range and their firearm manipulations are so refined you are left wondering “how did they do that?”.
I am not saying the three drills we are going over today are going to make you a Grand Master or a Tier 1 Operator. However, with training and practice they will help you get that proficiency in performance and performance on demand we all want.
We do need to set the stage for our drills today. You will need the ability to move and run a minimum of 25 yards forward and back and approximately 20 yards from side to side. You are going to need a sizable range for these. Preferably, you’ll want to use a standard cardboard target with an A zone sized center. Or, you can use an old cardboard box and just draw this in. A zone refers to a target of 6 inches wide and 11 inches tall, at least according to USPSA.
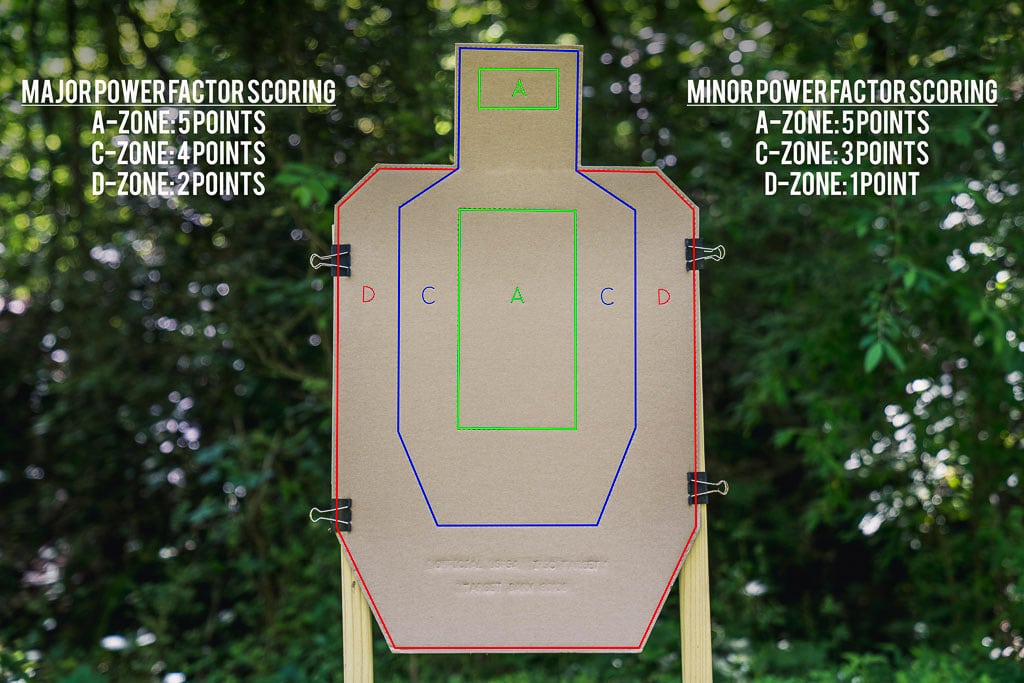
While we want all A zone hits as you speed up and push your skill level, don’t be afraid to hit the C zone of the larger target and reflect on what you need to do to improve. We are also not putting these on a specific time requirement. This is meant for personal growth, not bragging rights.
As your skill improves, you will likely see not only a dramatic improvement in accuracy but also a huge drop in time. Just remember, you have to be honest with yourself and be consistent with your skill development. If you don’t have a shot timer, there are phone applications you can download.
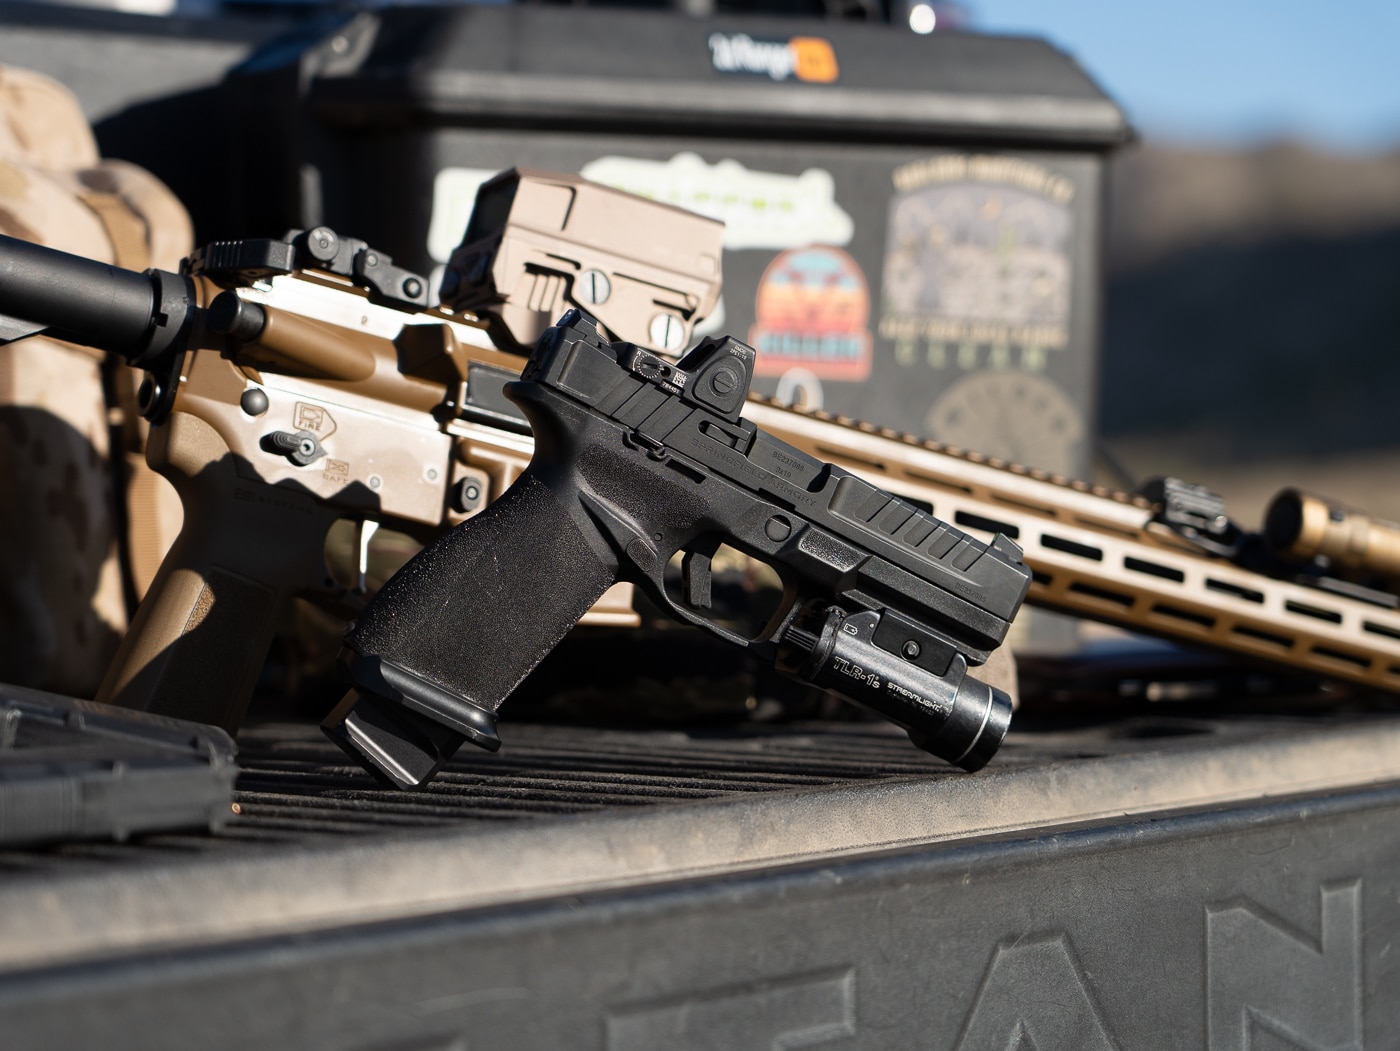
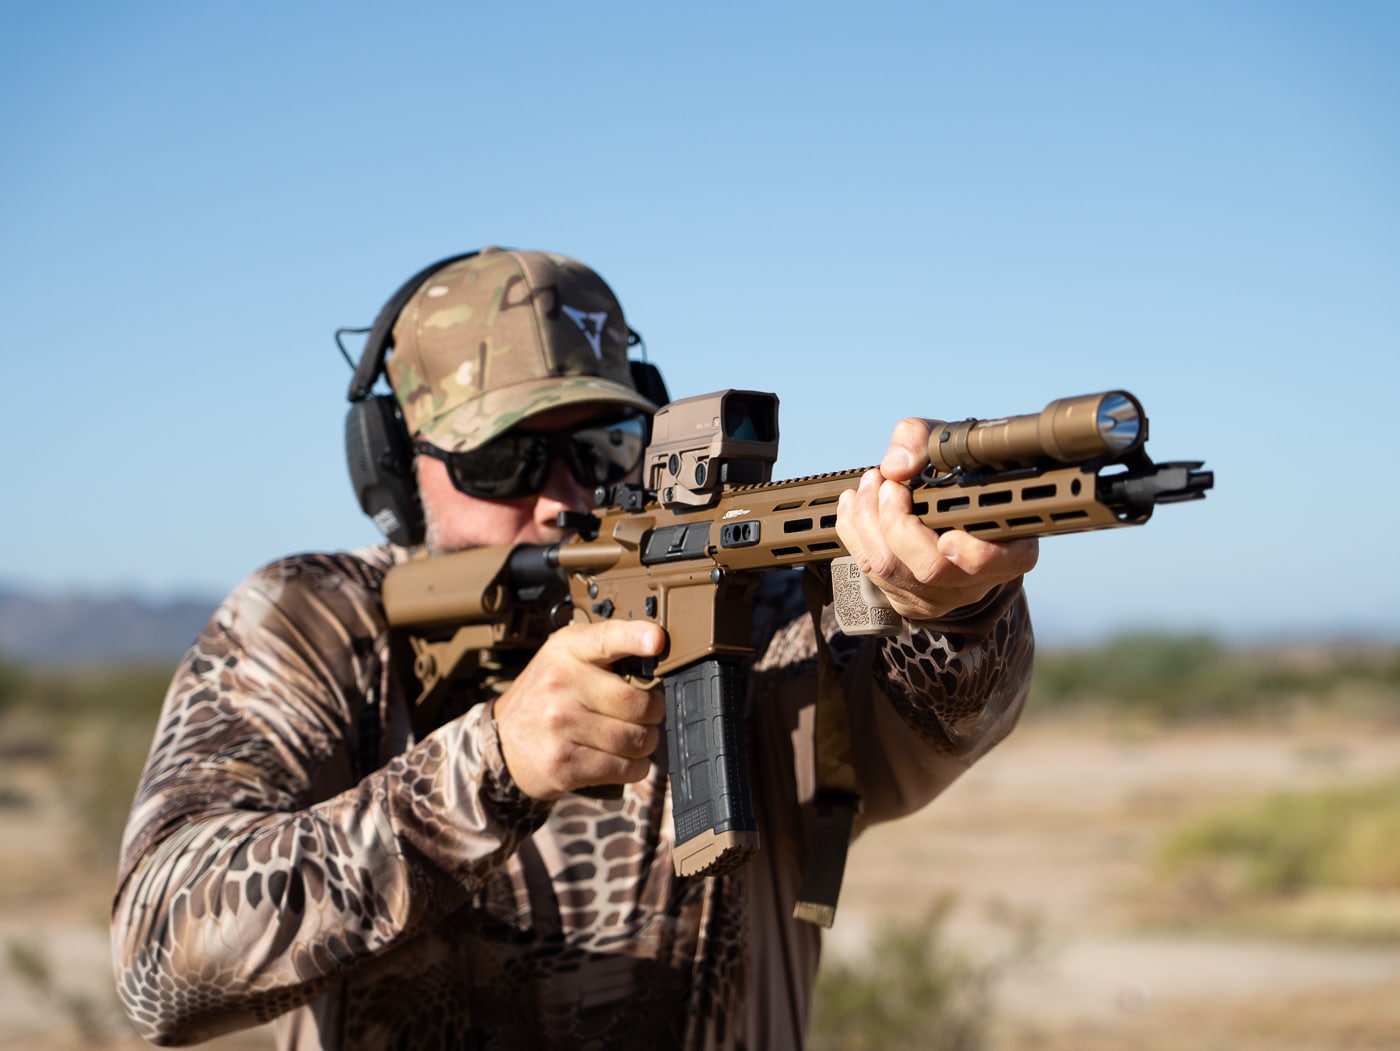
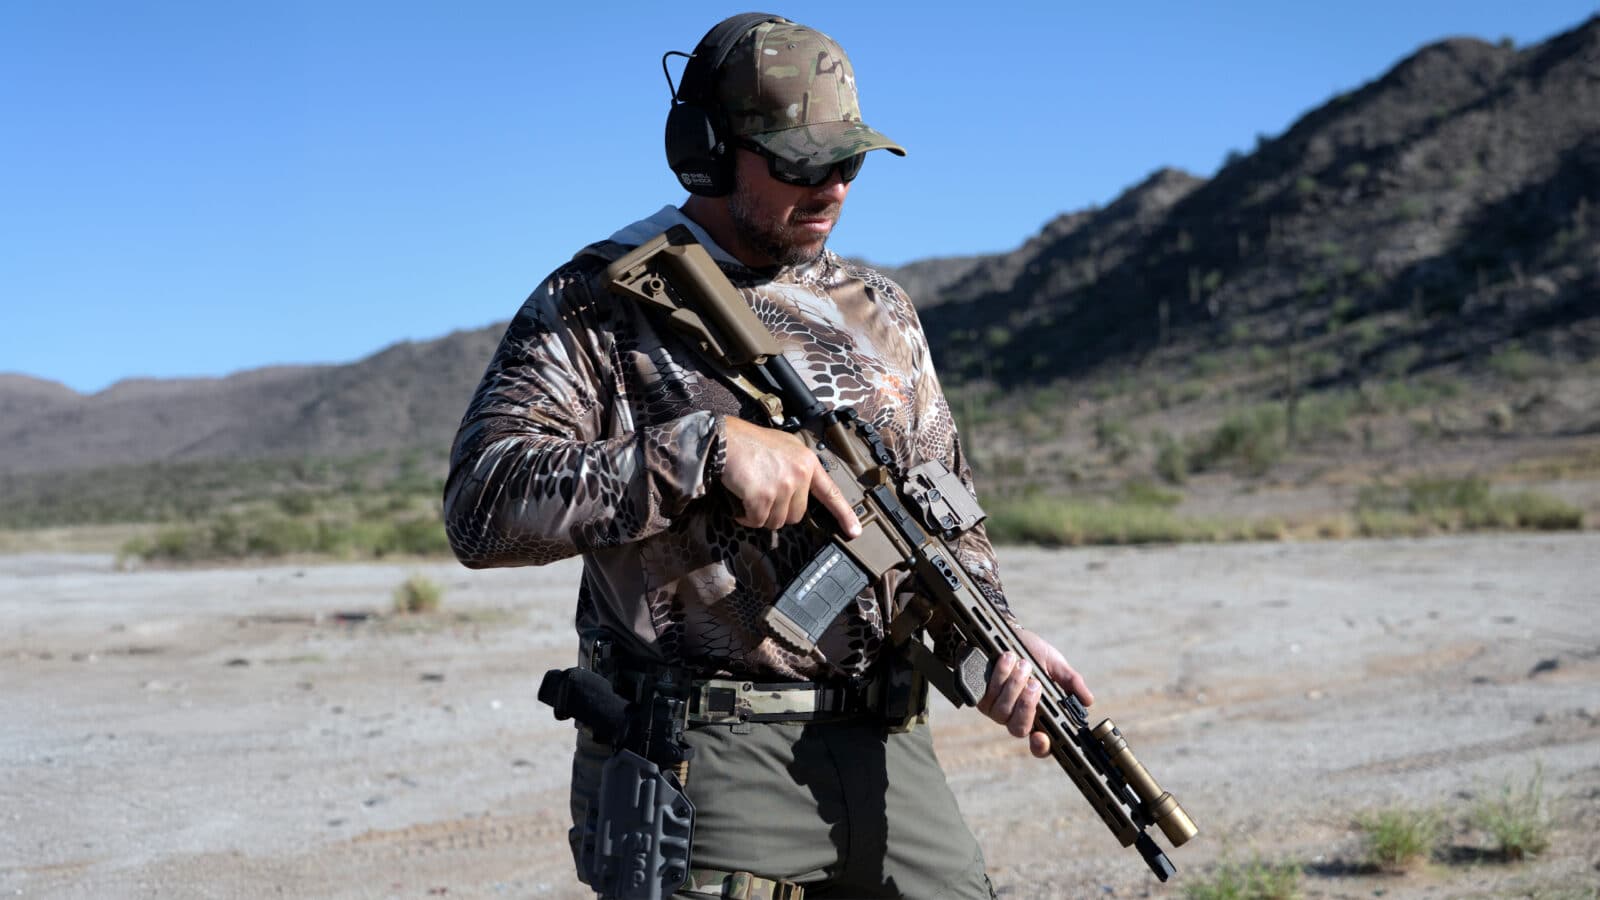
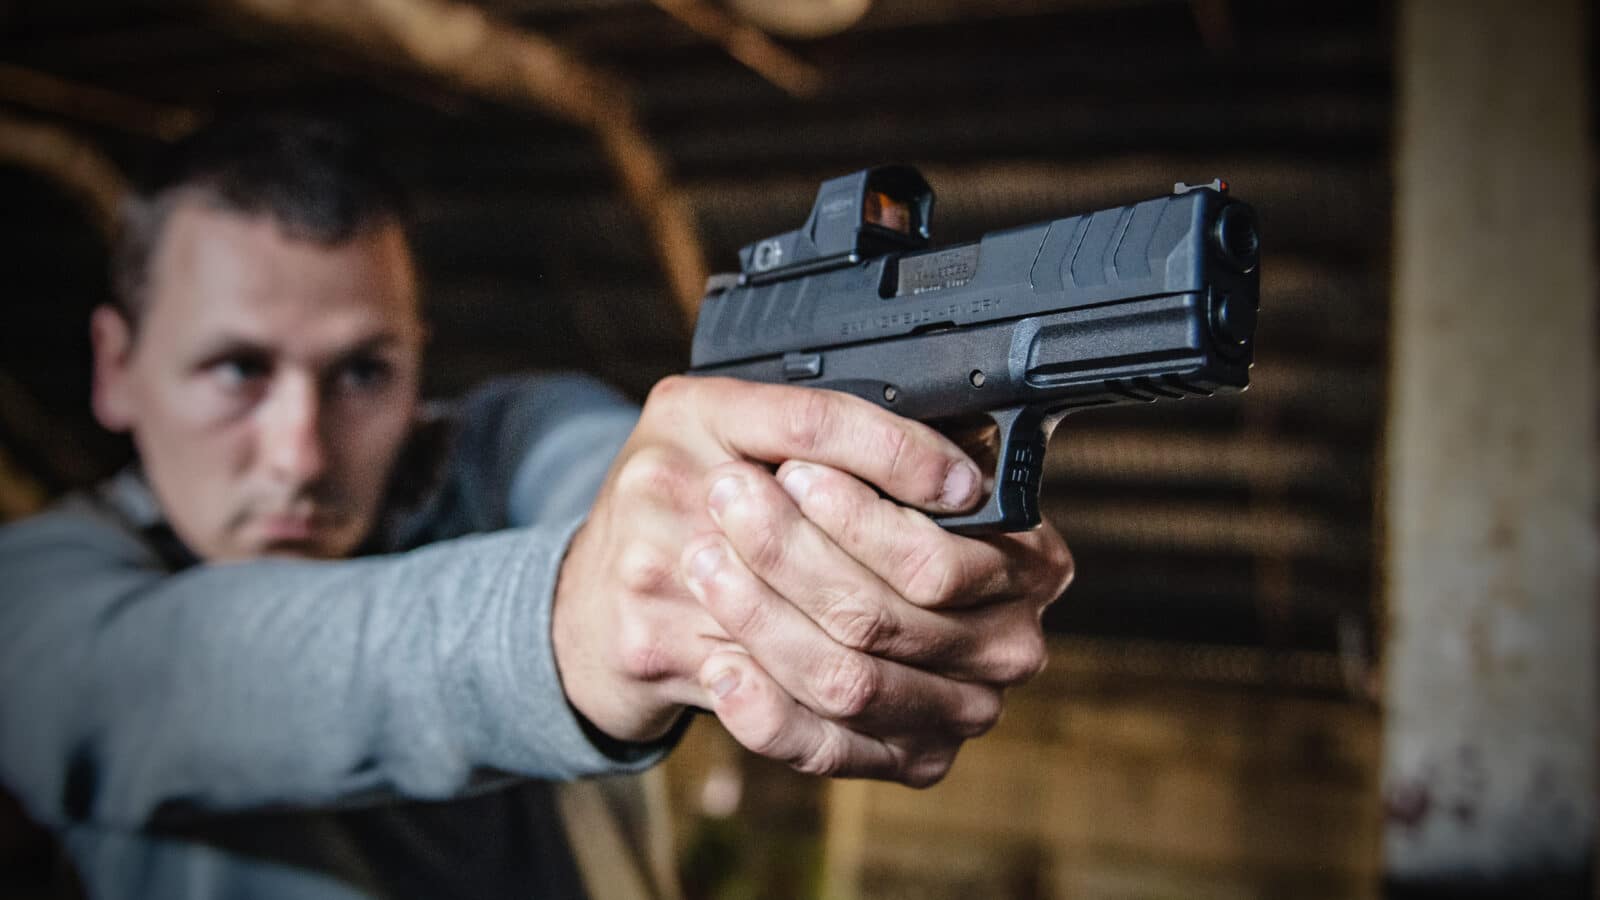
Don’t just think these are pistol drills either. All of what we will go over today can be done with a pistol and a rifle. Today, we are using the Springfield Echelon full-size equipped with an RMR and Streamlight TLR-1 HL light. We are also using the new Springfield SAINT Victor 5.56mm rifle in Coyote Brown.
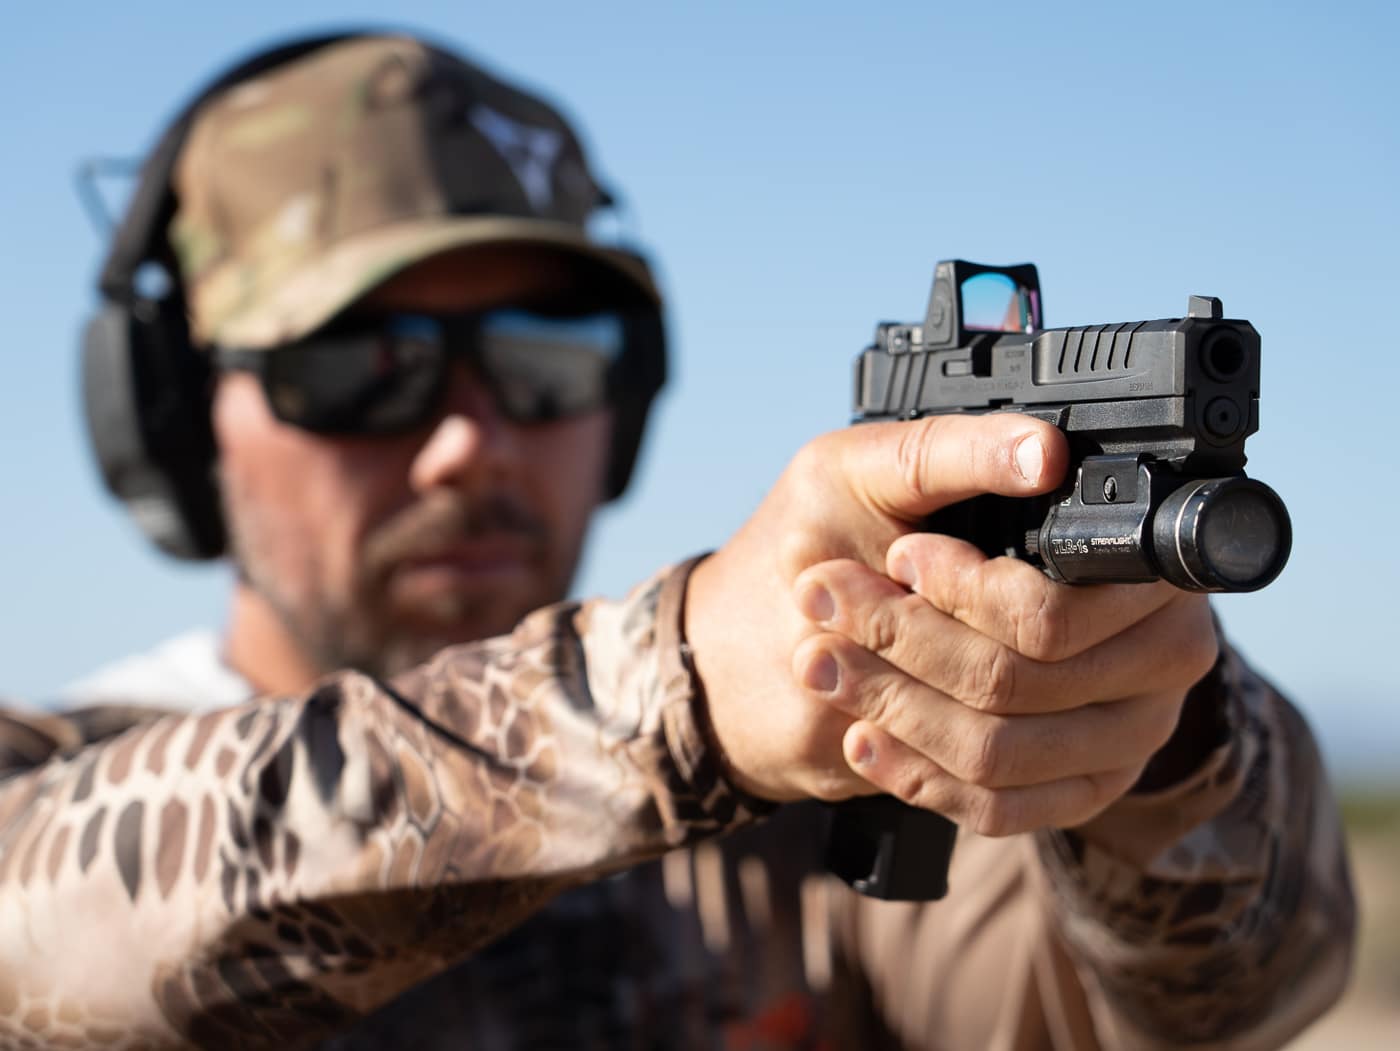
The Echelon pistol is one of the most feature rich on the market today. It has interchangeable backstraps; a multi-fit, direct-to-slide optic mounting array; flat-faced trigger; factory metal night sights and a host of other options — the biggest being the Central Operating Group (or “COG”). That COG can be easily removed and placed into different grip modules in different lengths and sizes to ensure perfect end-user fit.
The new SAINT Victor rifle has a bunch of upgrades, including a Radian ambi charging handle, 45-degree ambi safety selector and a full seven-sided M-Lok rail with steel QD inserts for your sling. Basically, all the right stuff in the right places with all the right materials for a hard-use, long-lasting rifle. And now it’s time for some drills.
Tres Bill Drill
The first drill is a take on an old favorite that many of us know as the Bill Drill. The Bill Drill has been around for a very long time now. Originally, it was performed from a static seven-yard distance. The shooter will draw from the holster and fire six rounds on target, and should ultimately hit all A zone scores.
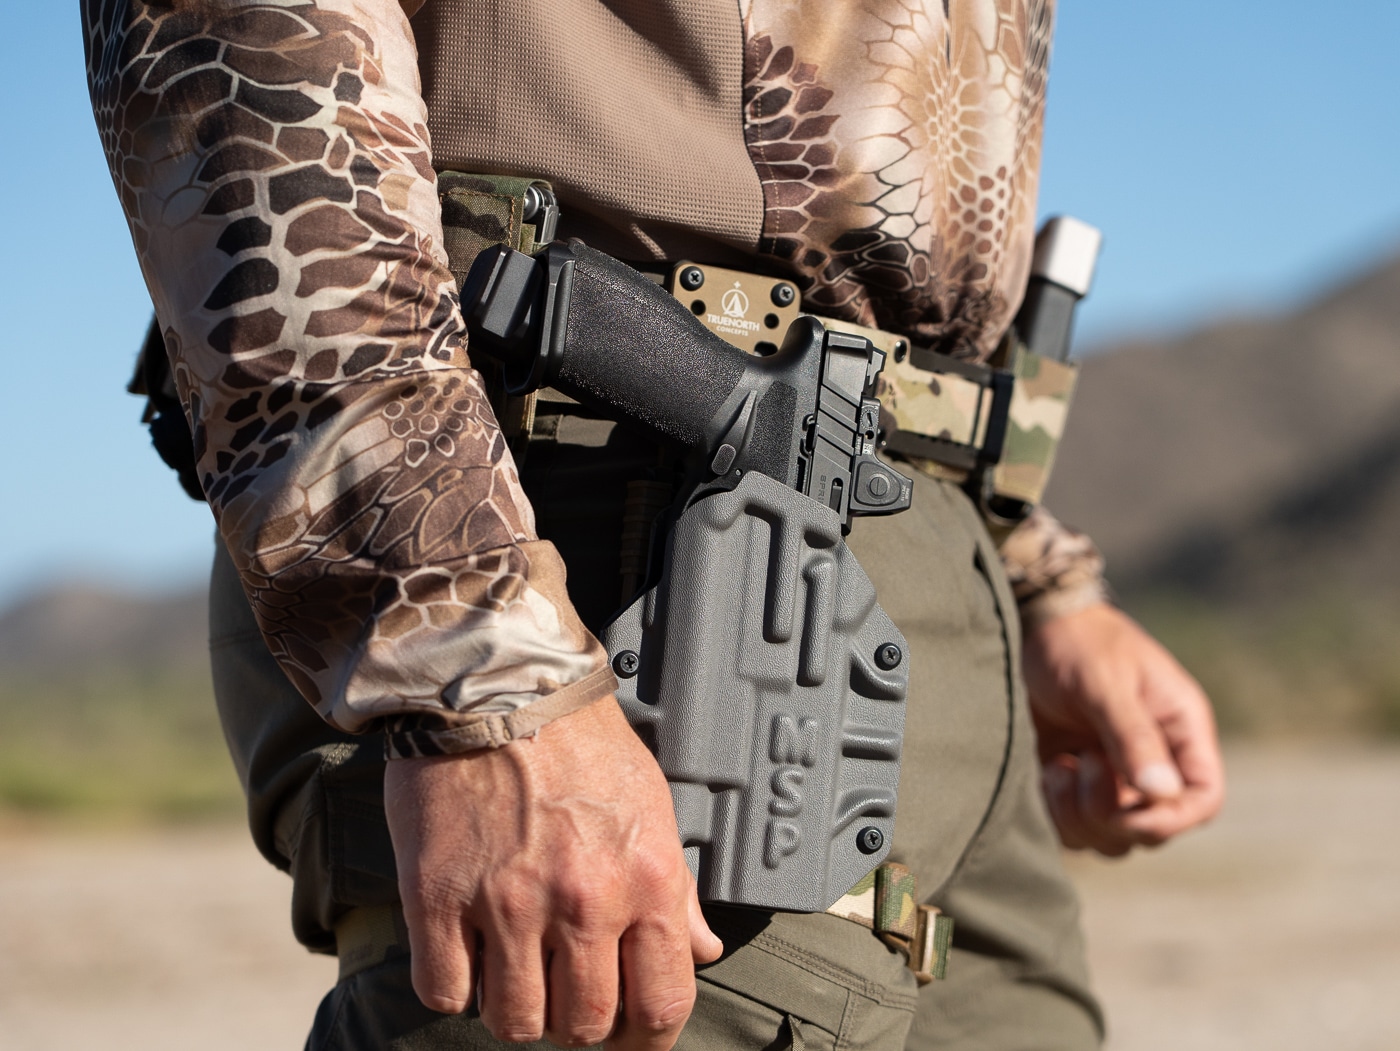
While this drill works on many elements of shooting such as draw, presentation, trigger control and recoil management, it is still a static drill. If you run it over and over just standing there, of course you are going to get good at it. So, how do we take this old favorite and turn it into something more? You guessed it — let’s add a heck of a lot more distance and a good amount of movement. You might want to stretch out a bit before this one because you are going to be sprinting.
To set this up, you will need your A zone target at a 25 yard distance to start. You then need to mark the 15-yard line and the 10-yard line. The start of the drill will be at 25 yards where you will draw and fire six rounds. You will then run to the 15-yard line and fire six more rounds. Then, you guessed it, you will run to the 10-yard line and fire six more.
But this is not where it ends, my friends. If you were doing the math on that, you have now fired 18 total rounds. Well, 18 is a magic number because most full-sized 9mm pistols hold 17 rounds in the magazine and 1 in the chamber. This means you have run your pistol dry and need to gas it up with a fresh mag.
If you are running this with a rifle, stage your magazine load accordingly. But the clock is still running. So, at the 10 you will conduct an empty gun/slide lock reload and fire two more. This is where the clock stops, and you get to review your work on paper. As with all the drills we go over, take note of your hits and times in order to continue to develop your speed and skills.
Baer Chaos Drill
Next up is one of my personal favorites and again a take on another drill, the Baer Standards. This was originally developed by an Army Special Forces veteran, Drew Estell, who owns Baer Solutions.
The original Baer drill is from five meters on an 8.5”x11” sheet of paper with two 4”x6” boxes and a 3” circle in between the boxes. The static Baer drill consists of firing five rounds in each 4”x6” box, conducting an empty gun reload and finishing with three rounds in the 3” circle. It’s a spicy drill, no doubt. We are going to catch a break on this one because we are using the A zone target in its entirety. But we are going to add in a fair bit of movement as well.
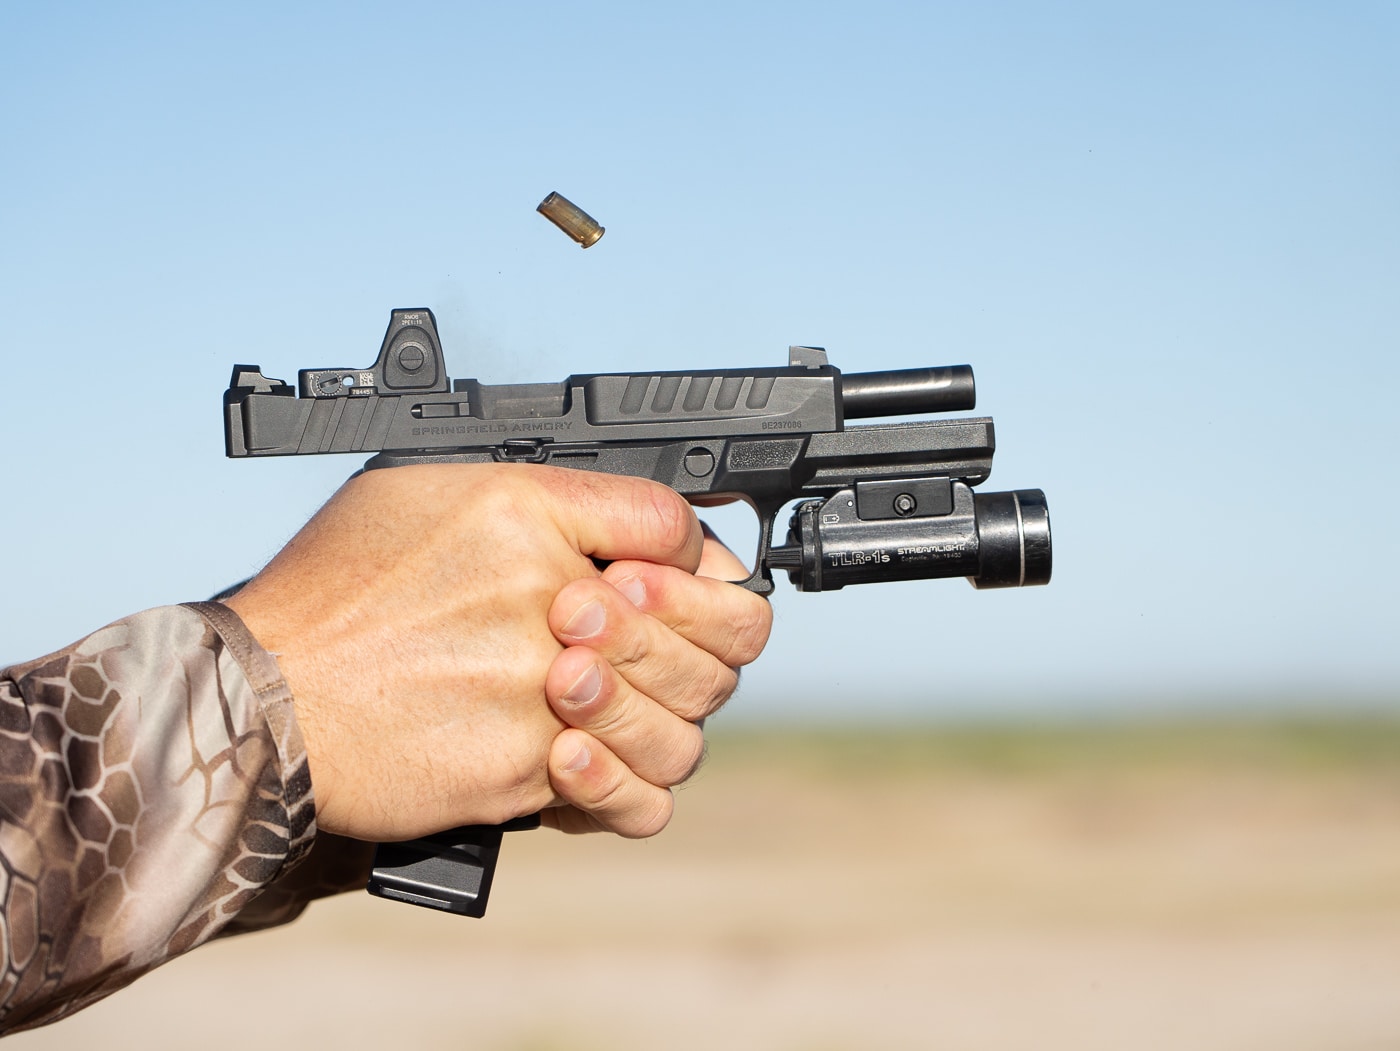
Setting up what I call the Baer Chaos drill consists of marking two cones 15 yards apart at the 10-yard line with the target centered. You can start on the left or right side, but I would suggest trying it both directions. You will need a total of 10 rounds in the pistol or rifle to start and a full fresh mag ready to go.
On the timer, you will draw and fire five rounds in the A box, then run to the opposite cone and fire five more rounds. At this time, your slide or bolt will lock on empty. While moving to the center, conduct your reload and fire three more into the A box. By this time, you likely have a bit of a sweat going and your heart rate is a bit elevated. This is all by design.
Latitude Drill
The Latitude Drill is a great finisher for a range day. The set-up here is two cones at the 10-yard line with the target roughly in the center. Then, on the left or right cone, mark back to the 15-yard line and start there. Basically, the course of fire looks like a big L on the ground if you were to look at it overhead.
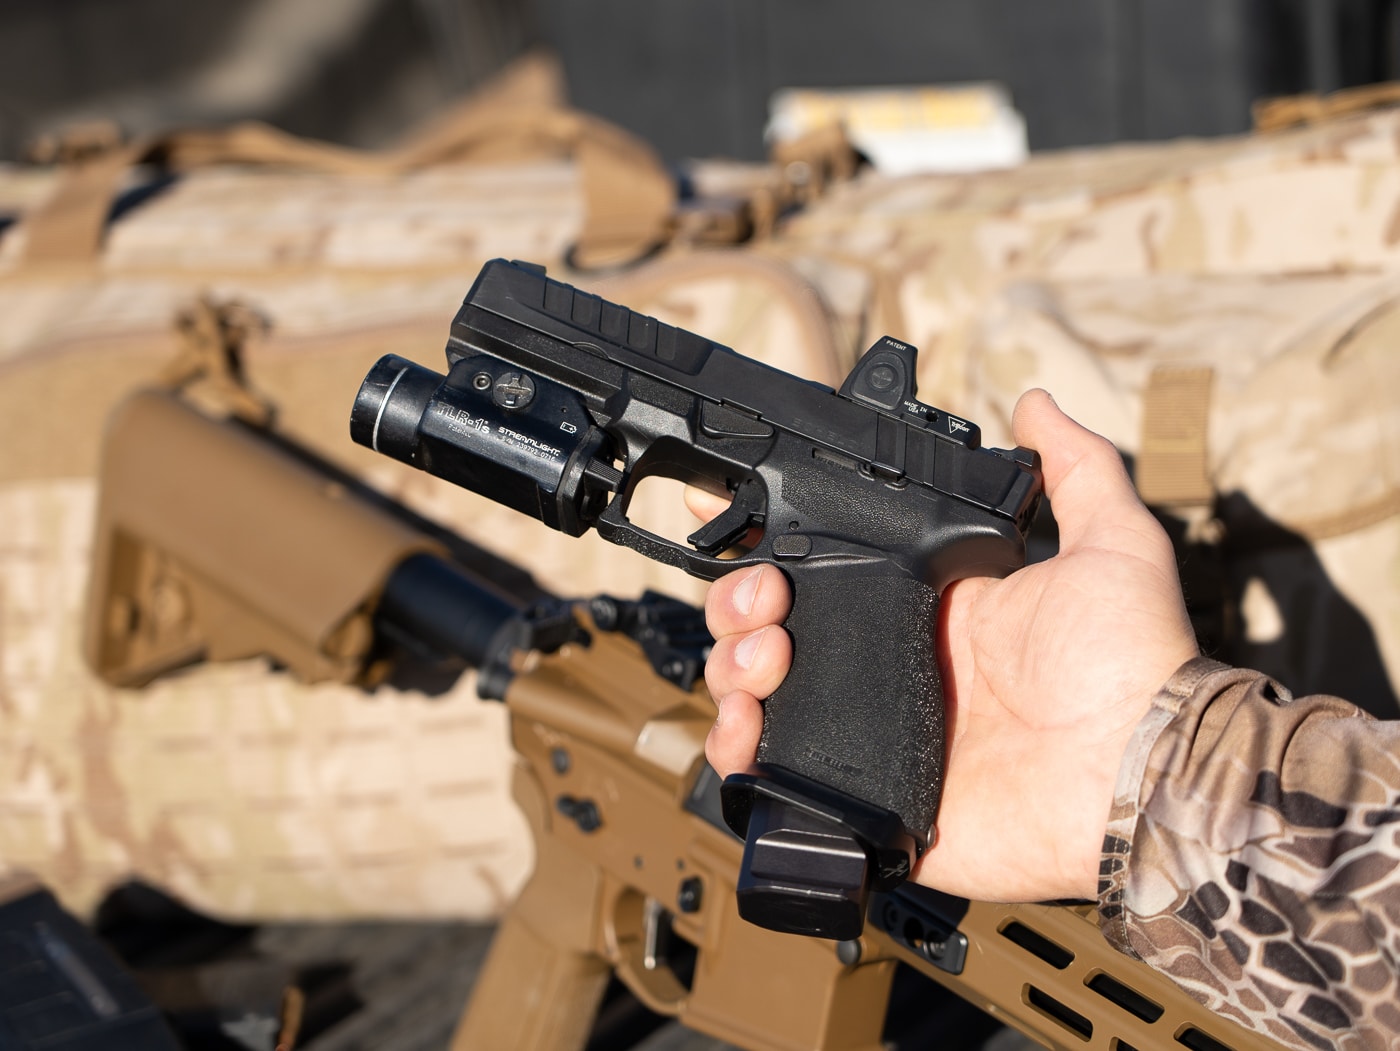
Load up a fresh magazine and get ready. Starting from the 15-yard line cone, fire three rounds, run forward to the 10-yard line cone directly in front of you, fire three more rounds and then finish by running to the cone on the opposite side farthest away and fire three more. Again, I suggest running this drill from the left and right sides.
Conclusion
Now, let’s look back at all of these drills and think about what skills we have managed to work on. And remember, all of these were done on a timer and mostly with an elevated heart rate due to the movement. Pretty much everything from the initial grip of the pistol in the holster, the draw, presentation, trigger control, recoil management, reloads and breathing — all of it — was worked on in three simple drills.
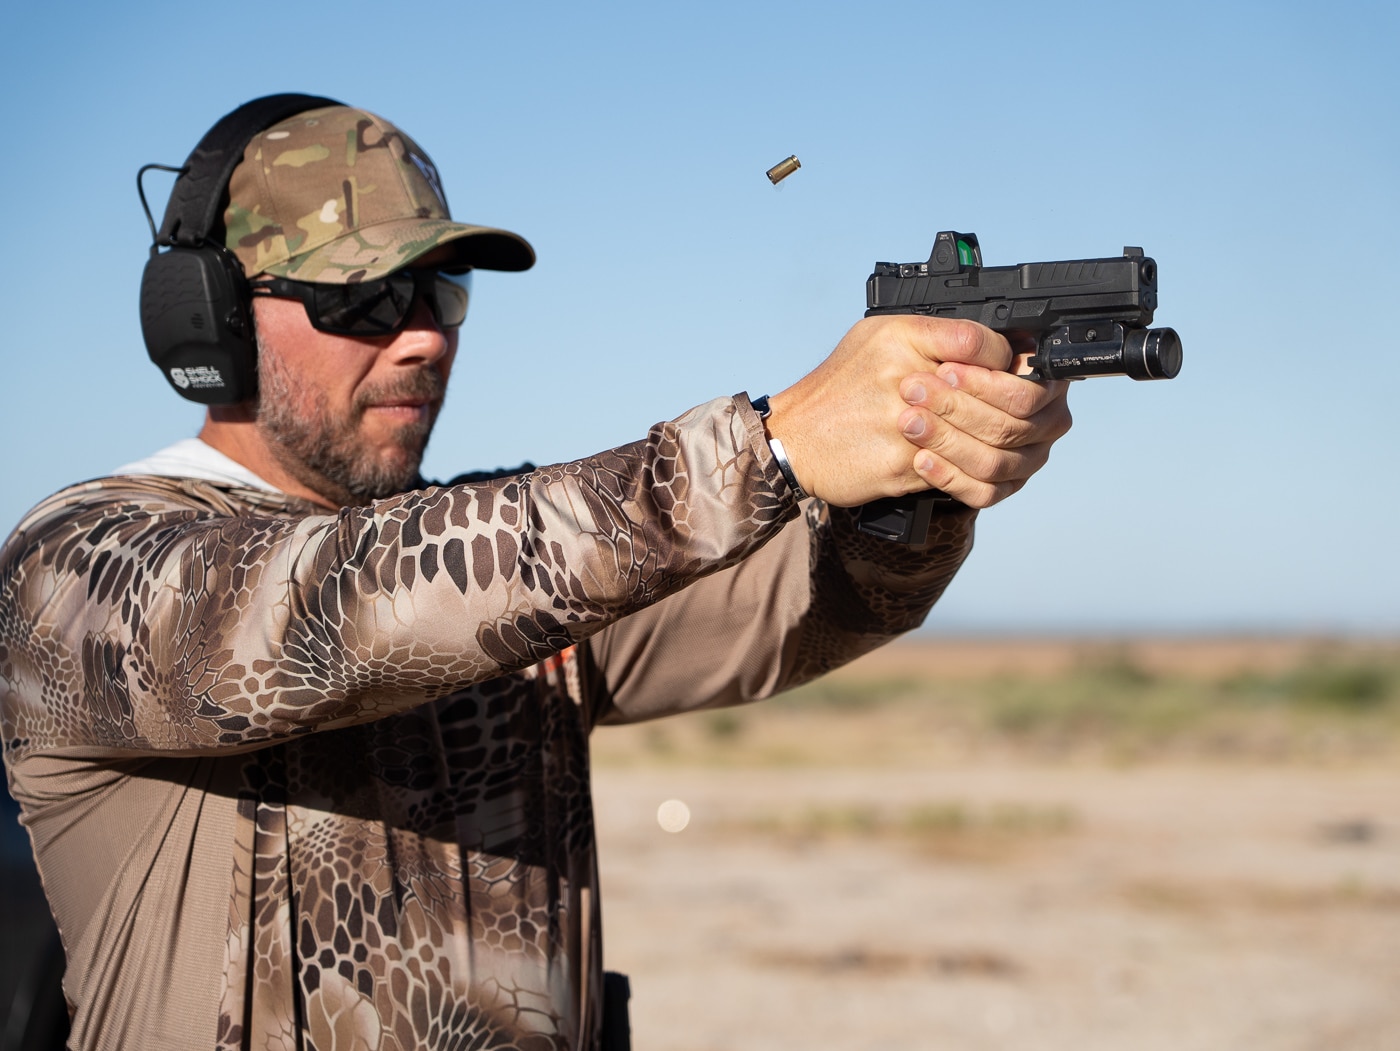
If we now think about competition or even real-world tactical environments, aren’t these all skills we need to hone for the win? Accuracy, speed of manipulations, movement off the X and of course recoil management.
As someone who carried a gun for a living most of my life both as an Army Ranger and as a police officer, I wish I had implemented these earlier in my training. It’s never too late to get after it, though.
And getting after it is what I suggest all of you do with your new Echelon pistol and SAINT Victor rifle. Don’t let them gather dust in the safe. Give them the use they deserve and the training you need. And most of all, have some fun out there!
Editor’s Note: Be sure to check out The Armory Life Forum, where you can comment about our daily articles, as well as just talk guns and gear. Click the “Go To Forum Thread” link below to jump in!
Read the full article here




Leave a Reply