Editor’s Note: This article is for informational purposes only. Please seek qualified training, and also ensure any training you do follows the safety rules of the range you are attending.
If you carry a firearm for self-defense, training in its proper use is not simply an option — it’s a necessity. However, that training does not necessarily have to been cumbersome in both time and money.
Here we have two quick shooting drills that can be done with two paper targets, one steel plate, and two plastic drums for simulating cover. These drills are not initially designed for the novice shooter, and can be broken down into small segments where the shooter can repeatedly work on a specific skill before putting it all together as a complete training drill.
Since both drills start from a position of disadvantage for the initial engagement, the defensive shooter will have to move quickly to seek cover to reload and continue to shoot the threat as necessary.
Range Necessities
Unfortunately, due to safety concerns in an environment with space limitations and where you have shooters with different skill levels, most public ranges cannot offer the flexibility for this kind of training.
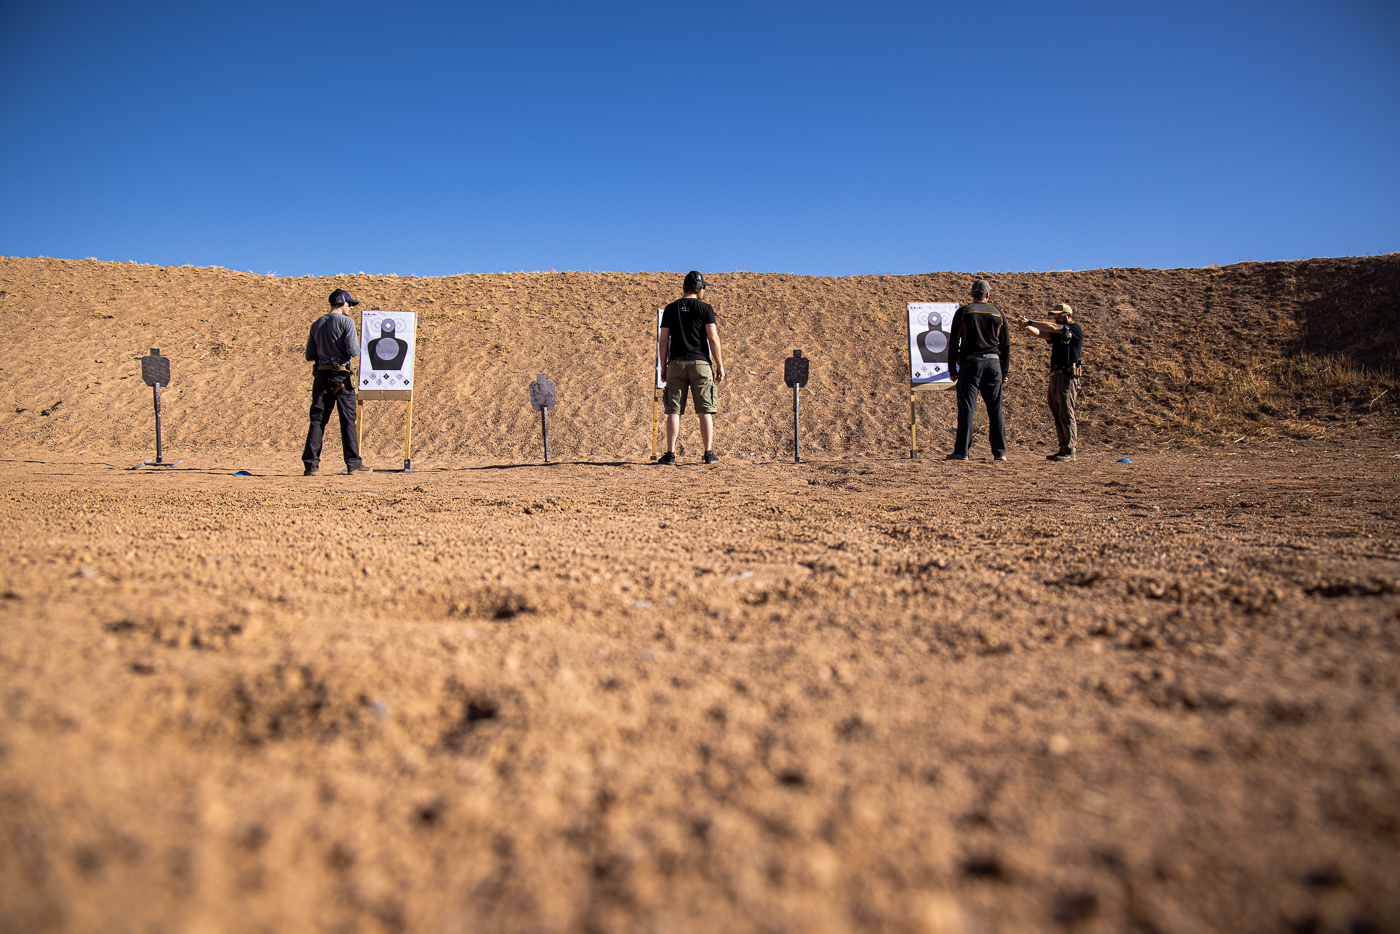
However, if you have access to a private outdoor range, where ideally you could have complete control of the shooting bay and be able to move freely and shoot safely, these drills provide a good opportunity to incorporate life-saving tactics with your EDC handgun. However, you must follow all safety rules and ensure you do not put yourself at risk.
Caliber and magazine capacity are personal preferences, so use what you shoot best under stress. You will need two target stands with paper or cardboard targets (hostile or IDPA), one steel plate at 15 yards, and two big plastic drums.
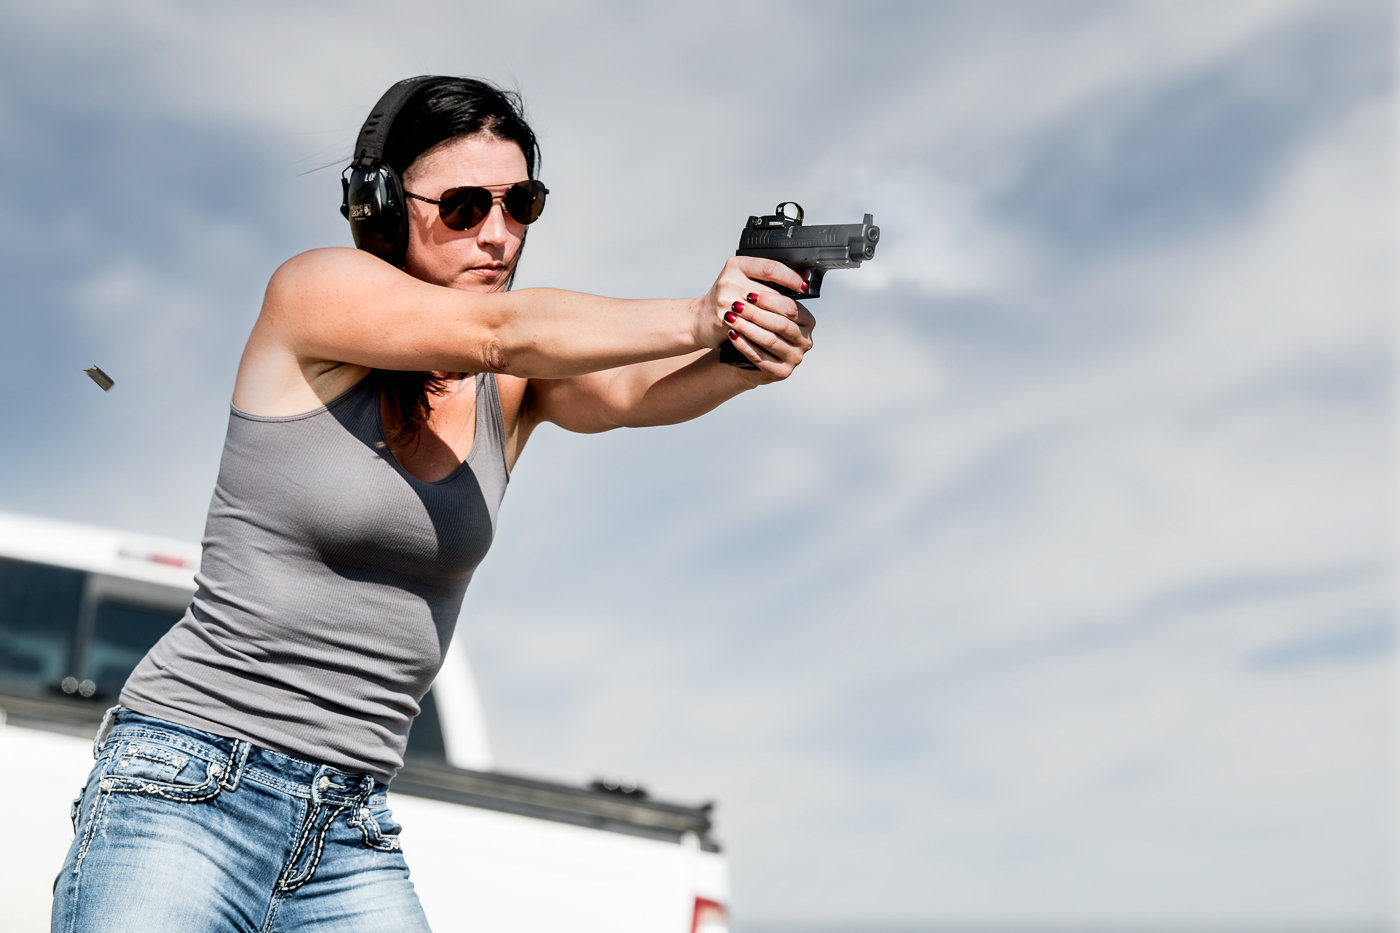
Unless you have frangible ammunition, you would need to set up the steel plate at a minimum of 15 yards away to minimize the possibility of catching metal fragments. You can also add a shot timer, but I feel it’s not needed at the beginning. I concentrate on consistently getting solid hits while employing tactics.
From the Ground Up
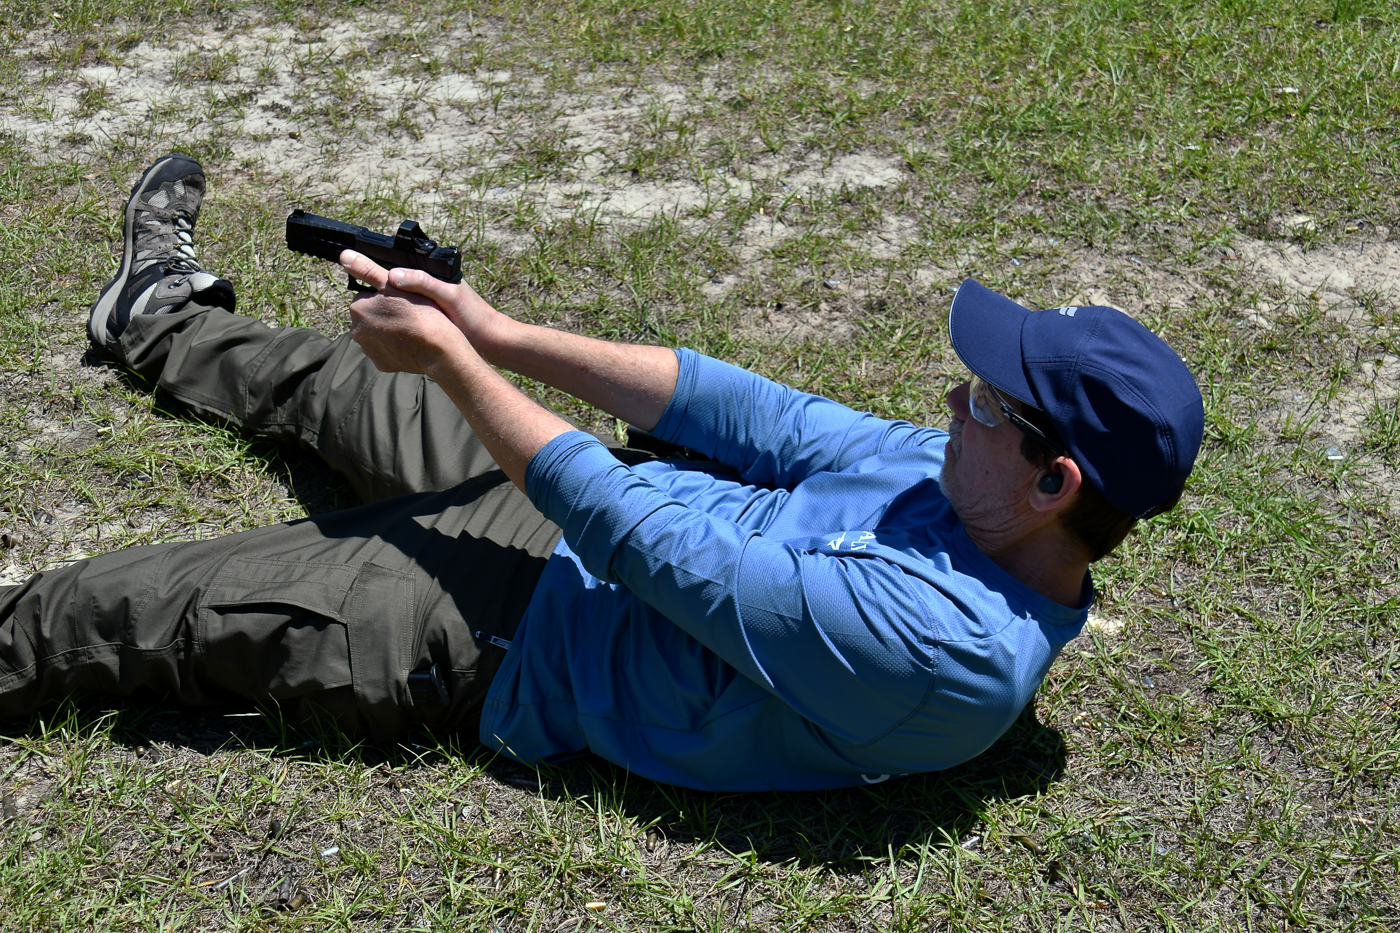
This drill begins with the shooter lying supine three yards from two paper targets, simulating a situation where you just tripped and fell backwards, either by accident or backpedaling from two advancing adversaries. Depending on the height of the berm, position the targets a little lower in the target frame to ensure the rounds won’t go over the berm. The source of cover will be set a few feet behind the shooter.
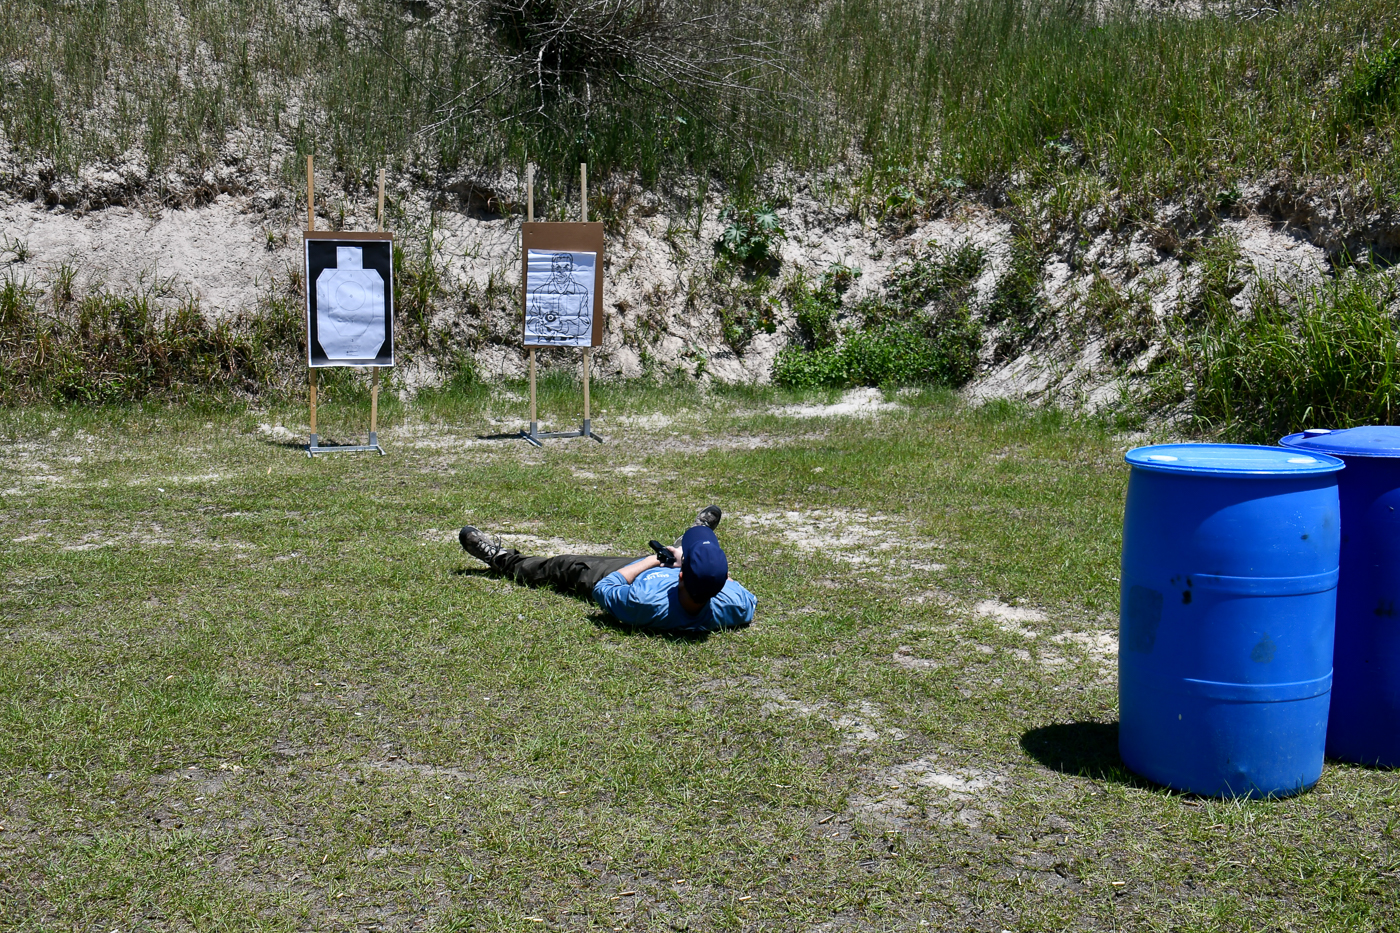
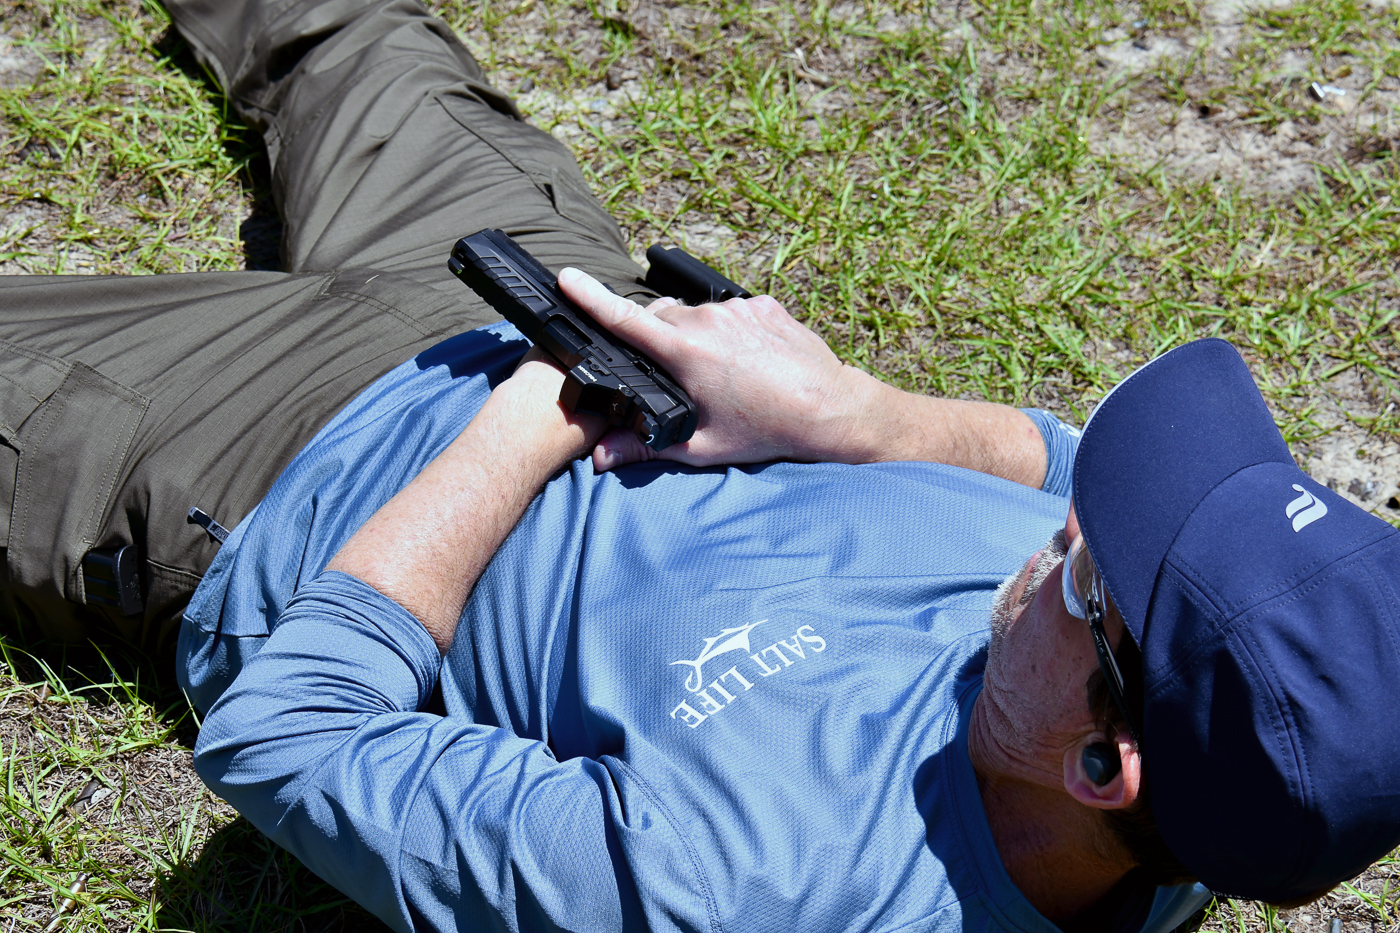
For safety, start with a loaded, holstered gun in the supine position in front of the targets, hands at your sides, palms down. Then, slowly draw and position your gun hand (finger off the trigger) over the support hand resting on your belly and form a “V” with your open legs and keep your toes down.
When ready to shoot, quickly lift your upper torso while presenting your gun and start engaging targets as soon as your shoulder blades are off the ground, putting at least two good hits on the A zone of each target.
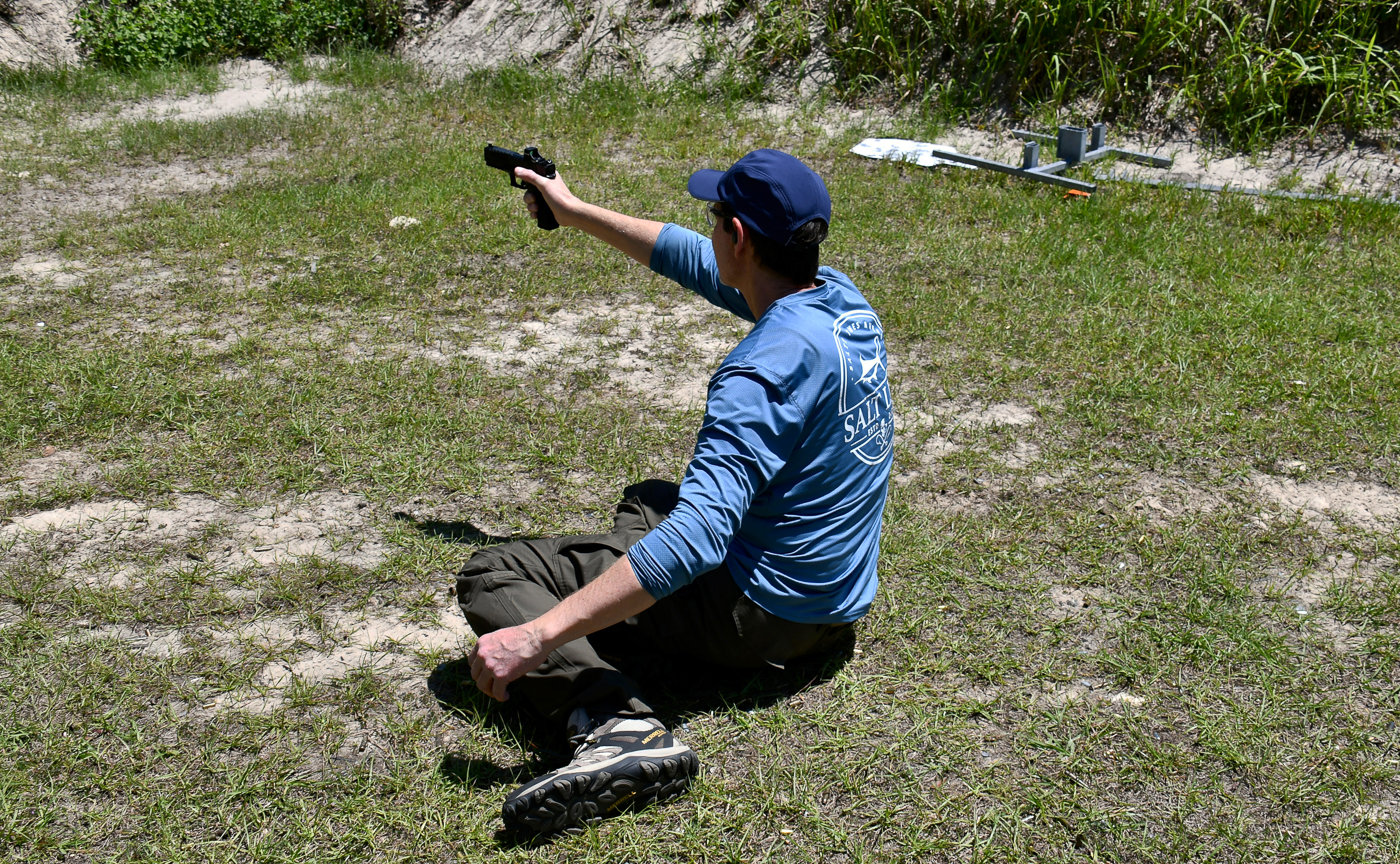
Then, with the finger off the trigger, and as fast and physically able, bring your legs underneath you, come to a kneeling position and engage the threats in one-handed shooting, at least one shot at each target. Next, use your support hand to push yourself up, working your way to a standing position while keeping the gun pointing at the threat. Once standing, reacquire your two-handed grip while walking backwards (toe to heel) and continue engaging the threats until you get behind cover.
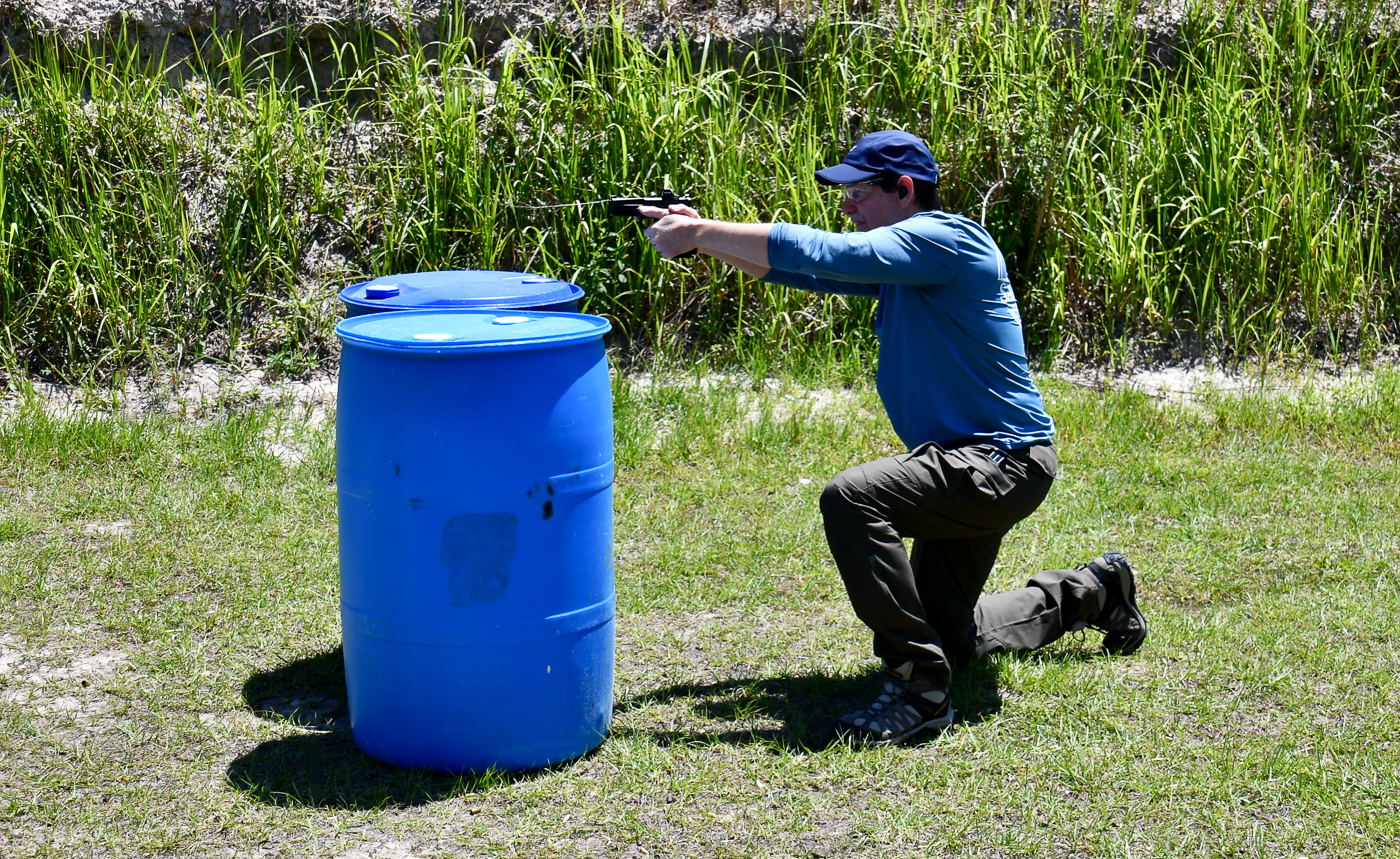
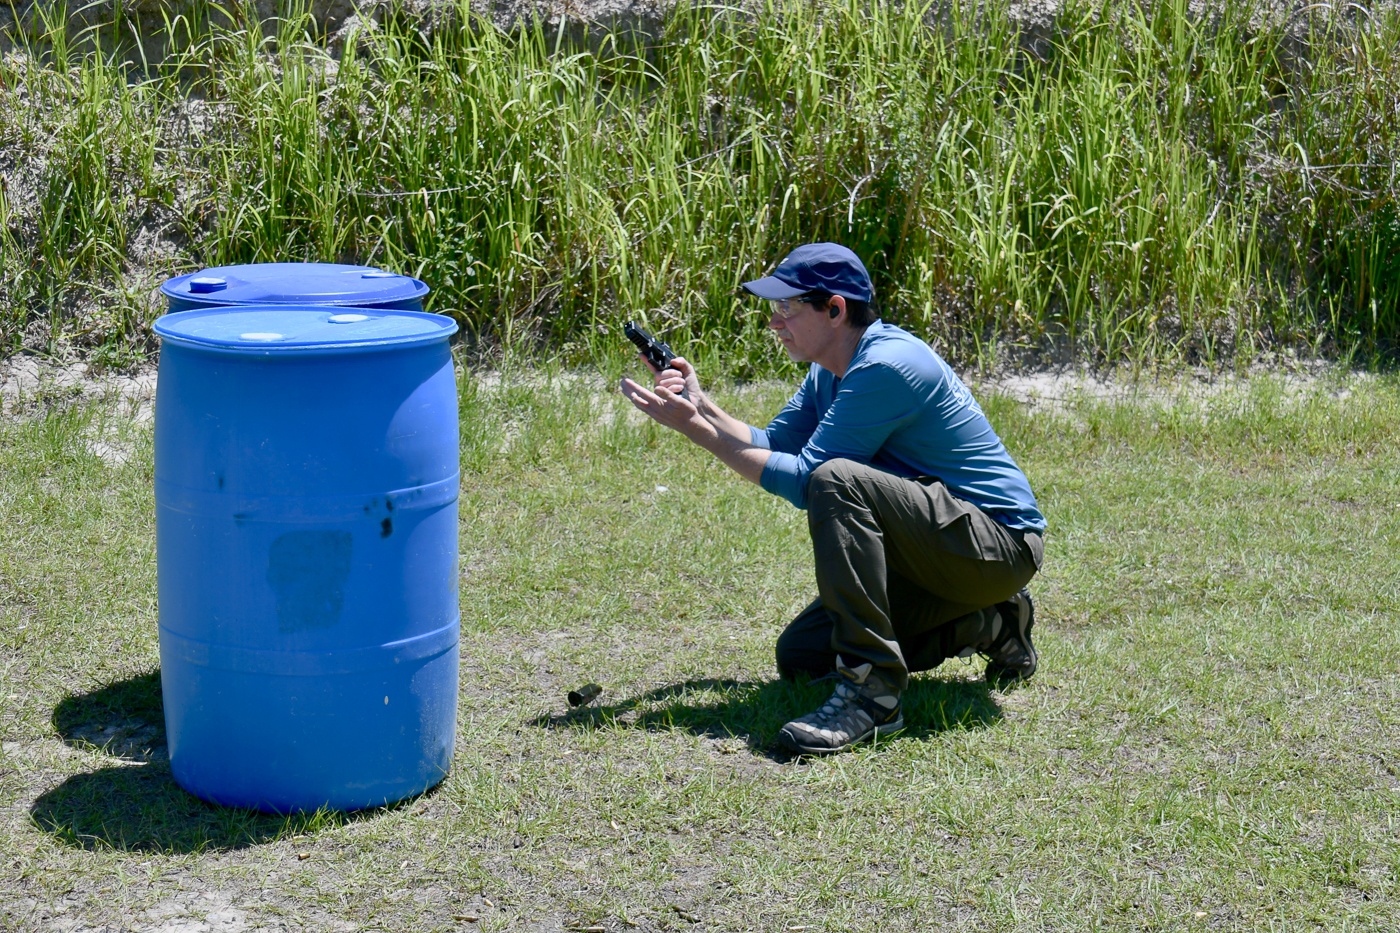
Reload as needed from behind cover in a kneeling position, keeping your body about one arm’s length from the edge facing you to avoid “crowding.” Engage from behind cover, only exposing a tiny portion of your body to get hits on the threat. Once the dust settles, do a quick visual scan before emerging from cover and holster up.
Note: If standing up from the kneeling position with a loaded gun in your hand proves to be a challenge, or a safety compromise, holster your gun while in the kneeling position and then stand up to draw again and continue the drill.
On Reloading
Reloads are usually dictated by your magazine capacity, your ability to clear a malfunction, and your skill to hit the target when you want to.
Other than the locked-back reload, we also train to conduct a saved magazine reload, whereupon you reload, ideally from behind cover during a lull in the fight, to have a fresh magazine in the gun and save a partially full magazine in your pocket in case it is needed later.
However, I have yet to see that happen in the real world. What I have seen most of the times is that people don’t count rounds as they shoot, and they reload out of necessity — when they run dry. So, be prepared to reload as needed no matter what stage you are at.
At the end of this drill, you would have done shooting from a supine position, one-handed shooting while changing positions, shooting while moving backwards, getting behind cover, reloading and re-engaging as needed while maximizing the use of cover, and scanning the vicinity — all in seconds.
Notice that I didn’t mention specifically the number of rounds needed for each portion of the exercise as that will depend on the effect of your defensive shooting on the threat, just like it would likely be in the real world. Don’t hesitate to sneak in a couple of rounds in the transition periods as well.
The main point here is to present a constant deadly defense against your attacker(s) at every stage of the fight from the beginning until it’s over. Again, good solid hits are paramount. Don’t do it faster than you can do it safely. Once you get comfortable with safely putting rounds on target at every stage, you can add a couple more targets and speed it up a little bit.
Now, as mentioned earlier, you can also practice each portion several times as an independent event to gain control and confidence, and then slowly add to the drill until its completion.
Out in the Open
I have heard that when no cover is available in your immediate area, the best form of cover is fast, accurate fire — that is, until you are able get behind a wall or another hard object capable of stopping incoming rounds.
In this drill, the source of cover will be in front of the shooter, at approximately 45 degrees to the left (or right), the distance to which will vary depending on the space available in the range. I would try to make it at least 10 yards away to make good use of movement to the source of cover with a loaded gun in your hand.
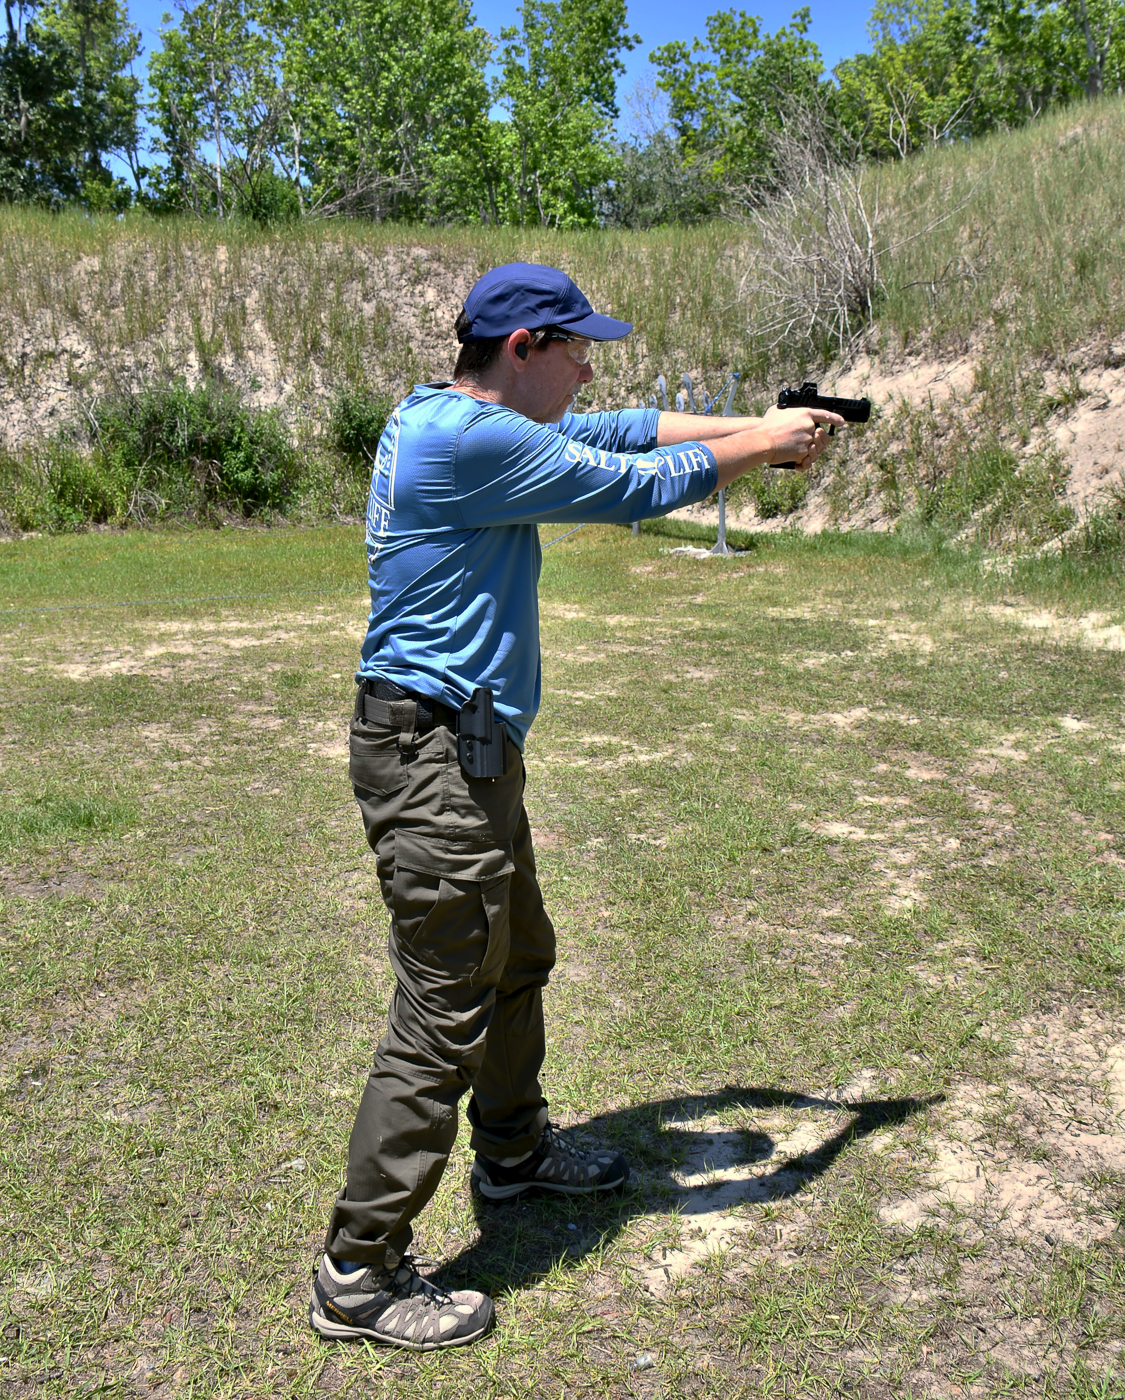
But first, before moving, the defensive shooter must address an immediate threat in front of him about 15-20 yards away. Starting from the standing position and a loaded, holstered gun, face the steel plate, draw and fire two rounds, with emphasis on getting both hits on steel. If you must slow down your draw, presentation and trigger press to get a first-round hit, then do so. Speed will come with correct practice.
Once you get your hits on steel, bring your gun closer to your mid chest and move as quickly as you safely can to the drums. Short, quick steps are preferable while keeping the gun close to the body (finger off the trigger) and pointing the muzzle to the ground away from you. As you come within a couple of yards of the drums, slow your speed and re-establish your two-handed grip and engage the two paper targets before diving down behind cover.
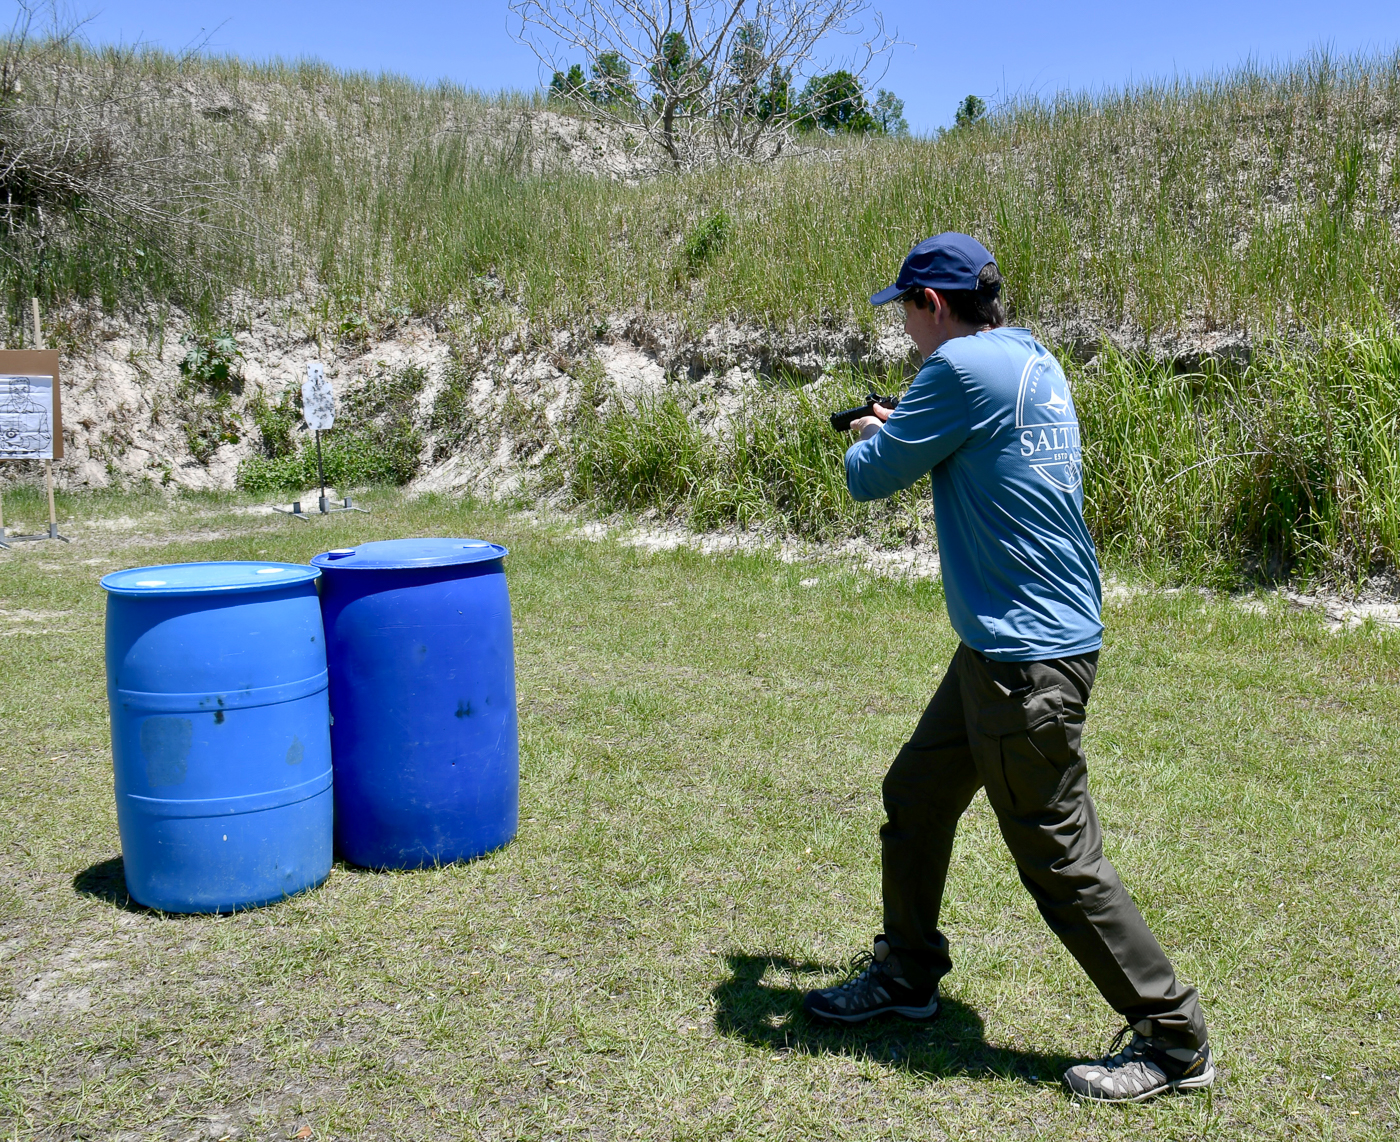
Note: If you are uncomfortable running with a loaded gun in your hand, simply holster the gun and run to cover. As you get close to cover, then draw and continue the drill.
Reload from behind cover and slowly emerge with your gun pointing at the targets and engage again. Scan and holster up.
Don’t peek out of cover unless you are pointing the gun at the threat at the same time. If your gun is pointing down at the ground while you peek, it might take precious time to bring it back up, get a sight picture, and squeeze off a good shot. Also, you would be offering your adversary at that point your forehead as a target. In contrast, if you line up your gun at the target as you look and the threat needs shooting, then you are ready to address it at that very instant. Your line of sight and your gun, like a tank turret, should be in sync every time you peek out.
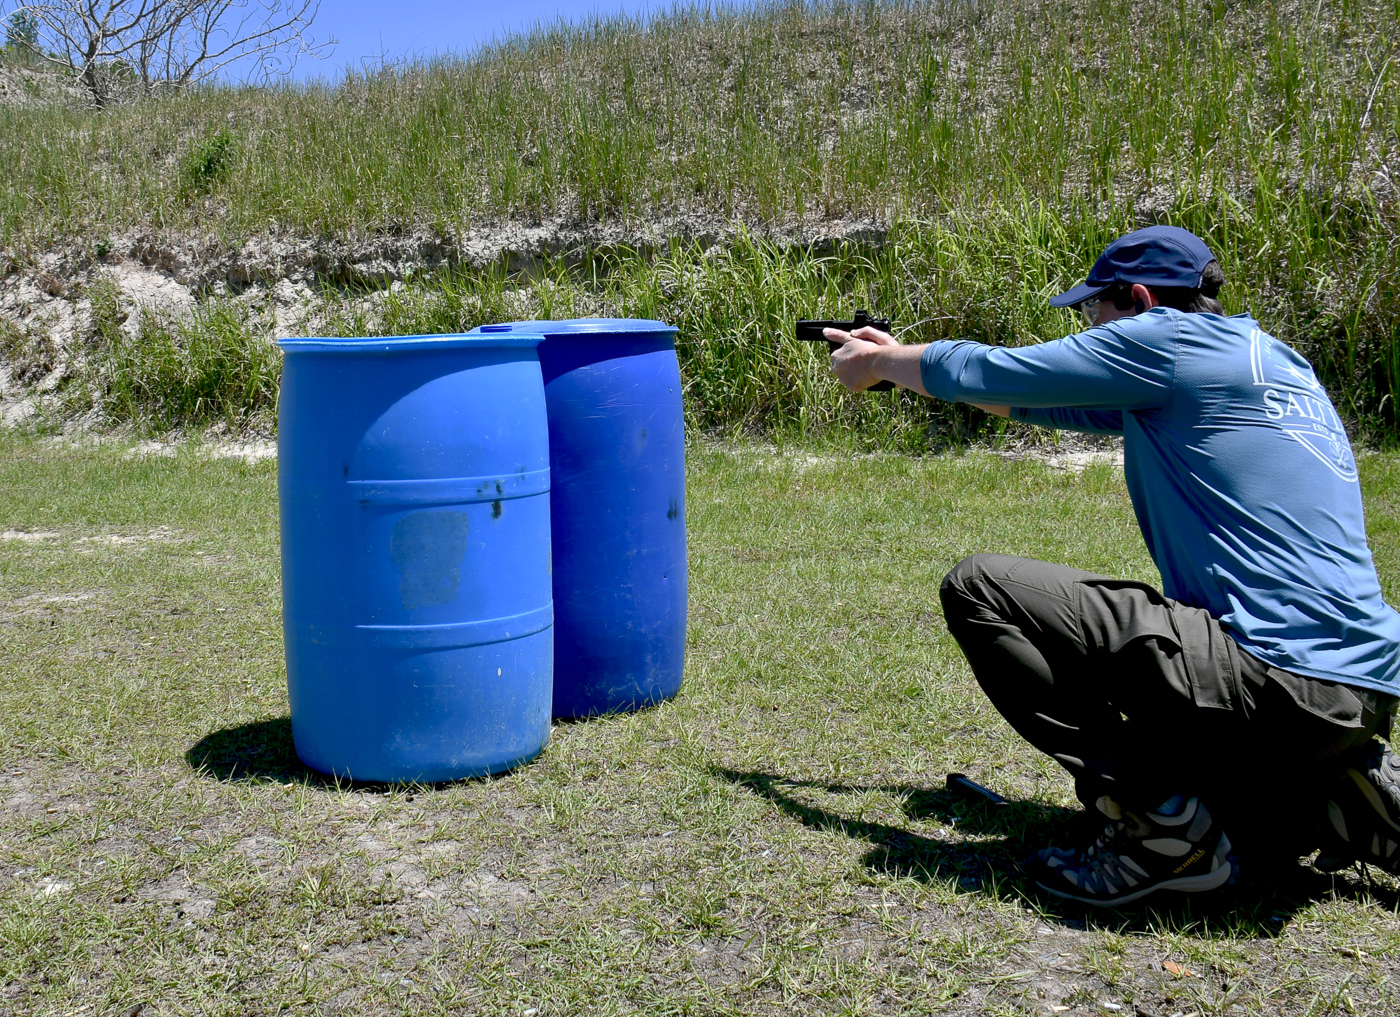
Because the first few shots of these drills are meant to quickly get you out of a disadvantageous position into a better position behind cover, you can use the timer to see how fast you can get those hits on target first. But as you move behind cover, don’t sacrifice the use of cover for raw speed. Reload and be ready to press the trigger the moment you line up the sights on the target while using cover to the max.
Conclusion
Go ahead and experiment with variations of these drills. For example, add a (safely executed) side shuffle to get out of the line of fire while drawing and shooting on steel. Or, add more steel and paper targets and increase the engagement distance as well. Or shoot from the sides of the drums, not only from the top surface.
Challenge yourself and have fun!
Editor’s Note: Please be sure to check out The Armory Life Forum, where you can comment about our daily articles, as well as just talk guns and gear. Click the “Go To Forum Thread” link below to jump in and discuss this article and much more!
Read the full article here




Leave a Reply