
When John Moses Browning designed the 1911, it did not have a rail to mount a weapon light. In fact, when the first polymer-framed, striker-fired gun appeared, it didn’t have a rail to mount a light either. My, how times have changed. Now, most handguns have accessory rails. Even many 1911 pistols have rails on them.
But what do you do if your handgun doesn’t have a weapon light on it? How exactly do you employ a handheld light while also holding a pistol? And, what do you do you if you need to shoot? We’re going to tackle that topic here today, talking about how to properly use your handheld light while shooting one-handed.
For this article, I am using my favorite handheld flashlight to use for EDC or duty use: the HRT AWLS Duty Handheld light. I also am using one of the new Springfield Armory TRP pistols.
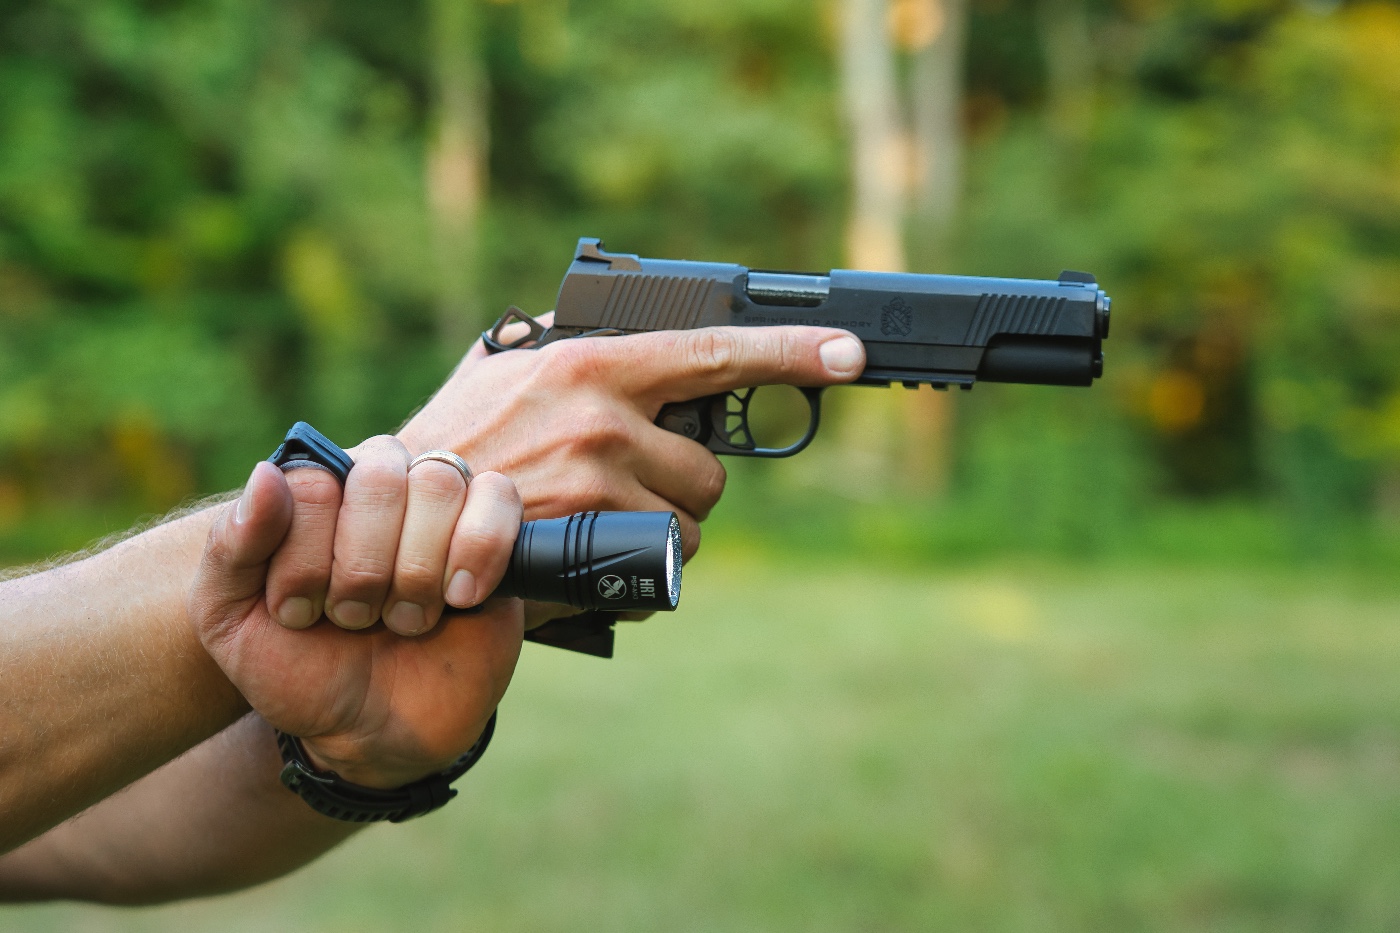
At its most basic, there are three main carry or holding methods for using a flashlight while shooting with a single hand. These are the jawline or temple index, the FBI and the Harries method.
Also, I’d like to point out that, when using a handheld light for self-defense, light discipline is paramount. Light discipline simply means that you shut off or don’t point your light at something unless the light is needed at that moment. Additionally, anytime you shoot one-handed, you must be sure to not flag your other hand — particularly in low-light conditions.
Jawline or Temple Index
During the first eight years of my time as an LEO, we carried .40-caliber pistols that didn’t have a rail to mount a light. So, I practiced and learned to shoot one-handed with a light. What I used during that time was the method called the jawline or temple index.
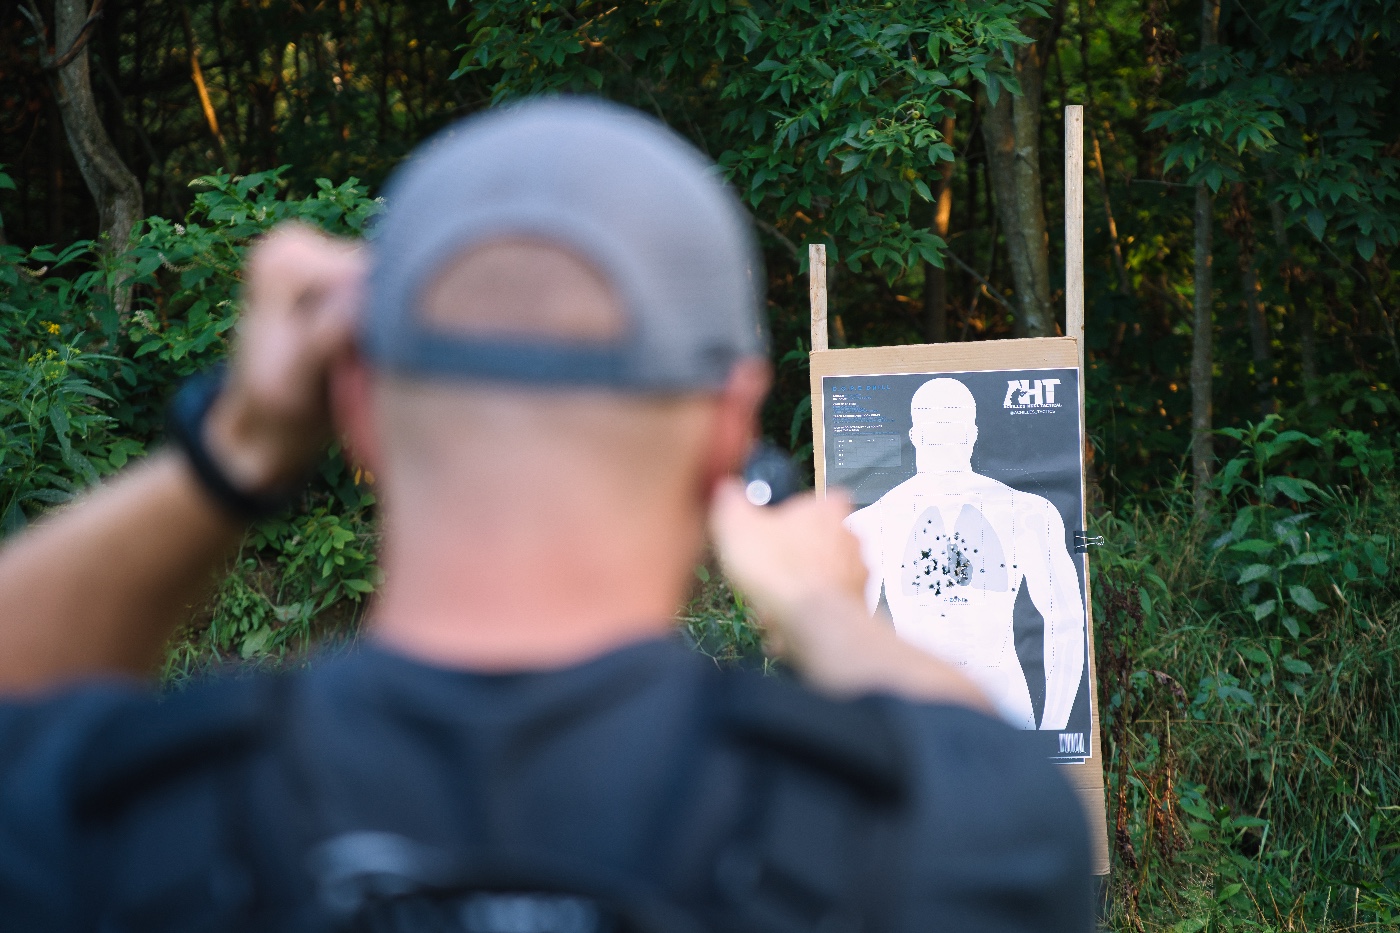
I found the jawline or temple index hold the easiest to scan for threats, direct the light where my gun was pointing, and also to keep my support hand out of the line of fire. This is exactly what it sounds like — you bring the support hand up next to your jawline or your temple.
Live The Armory Life. The latest content straight to your inbox plus an automatic entry to each of our monthly gun giveaways!
An additional benefit is with the location of the light in this position relative to the pistol, it will cast a peripheral beam onto the gun to help illuminate your sights or even give you a glance at the current condition of the pistol. This is extremely important in pitch black environments like a basement or building with no ambient light.
FBI Carry
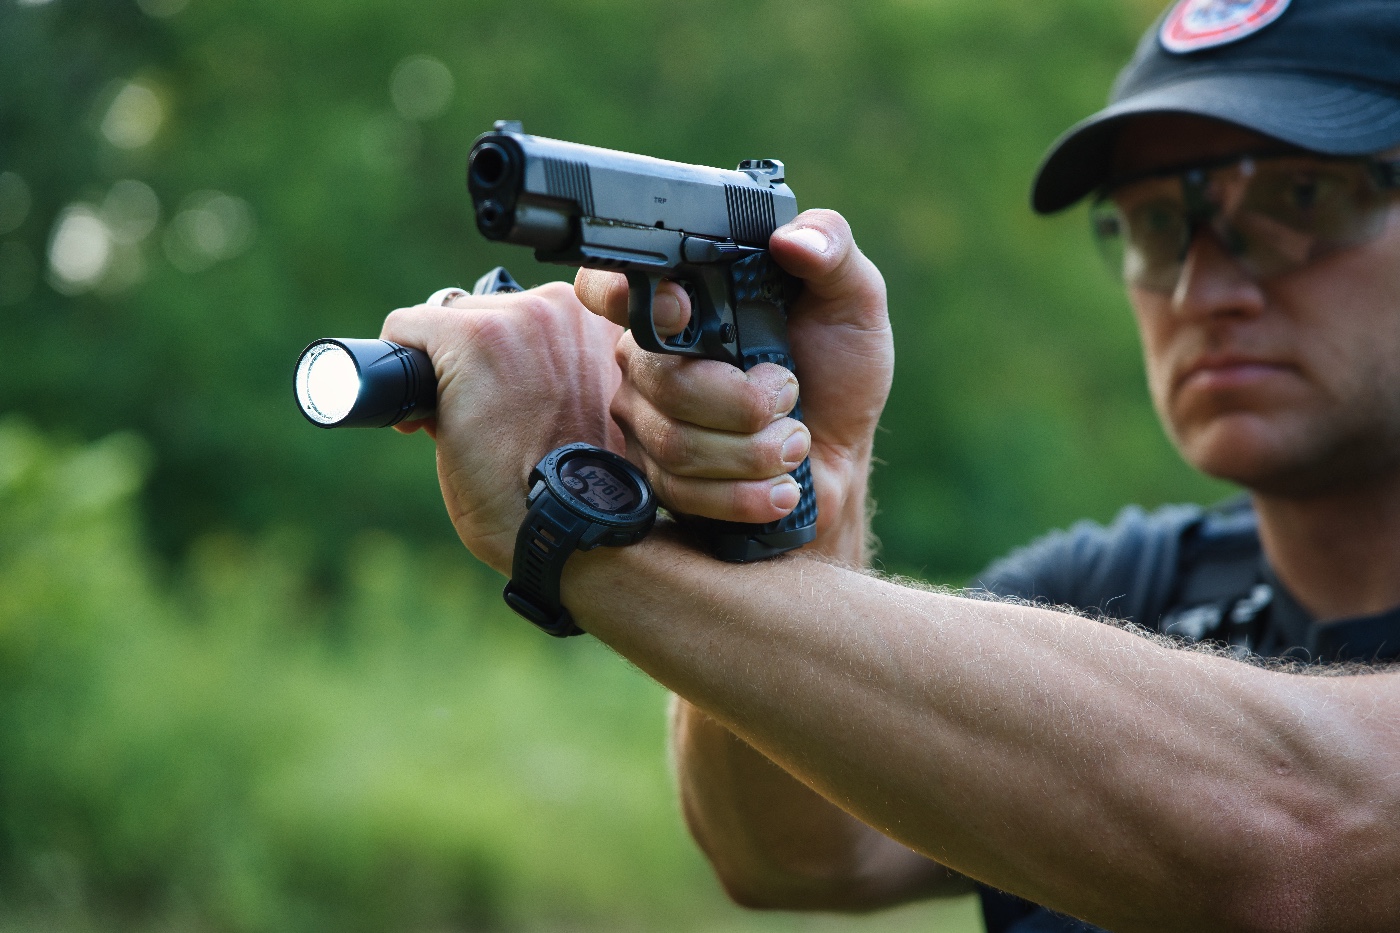
The next method of carry is the FBI carry mode. This method gains popularity due to the light location in relation to your position. The light will be held with the support hand outstretched or partially bent arm, which is out and away from your body.

The benefit? If a threat shoots at your light, the bullets are not flying at your head or center mass. The drawback is there is no anchor point, and if you are walking through the woods or a confined structure such as a home, you don’t have the space for your light to be hanging out so far from your body. Therefore, you will be forced to tuck the light into your head or shoulders, thus disqualifying the benefit of it.
Harries Technique
I’ll be upfront with you here — this is my least-favorite method. But, it is a commonly seen method and therefore warrants discussion.
To employ the Harries method, you hold the flashlight in a fist grip with your thumb used to activate the tailcap button. Then, you will nest your wrists together with the backs of the hands firmly pressed together to create stabilizing isometric tension. The light hand is now supporting the gun hand.
The issue with holding the backs of your hands together is if you shoot with a more relaxed posture as taught by today’s top instructors, it’s very difficult. However, with the Weaver stance or older techniques pioneered by Michael Harries or Jeff Cooper, the Harries technique works much better.
Much like the jawline or temple index hold for the light, you draw the light into your center mass. It therefore could direct a threat there aiming at your light. Additionally, there are two issues with this technique.

One is how easy it is to potentially flag yourself. On the draw stroke, you must come over and on top of your wrist and not under if you have the light out, thus possibly flagging your forearm. The second is if you want to put light on something you do not want to point your gun at as your wrists are working together in this mode.
Conclusion
The beauty of these options is just that — you have options. No one option is right for everyone, and it’s why firearms instructors should not speak in absolutes. Although I personally prefer and use the jawline or temple index 100% of the time, that doesn’t mean it is best for you.
I have tried to use the other methods and have tried them in role-playing training scenarios and I have employed them on duty. I can see benefits or drawbacks to each one, but the jawline or temple index hold has the most benefits for me and my shooting style.
I implore you to try each one extensively with live-fire training on the range and dry-runs through your home with an empty gun to find which suits you best. Remember, you do not rise to your expectations, you fall to your level of training when it hits the fan!
Editor’s Note: Please be sure to check out The Armory Life Forum, where you can comment about our daily articles, as well as just talk guns and gear. Click the “Go To Forum Thread” link below to jump in and discuss this article and much more!
Read the full article here
